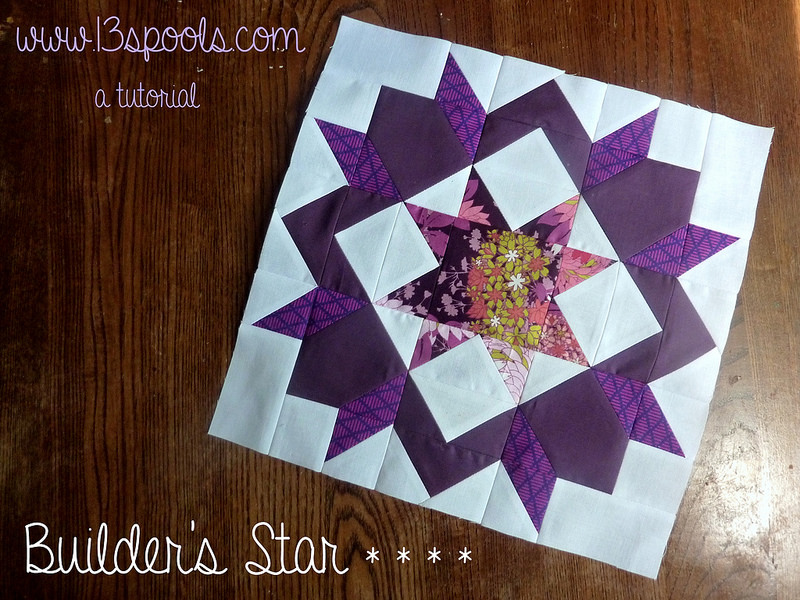
Block Tutorial: Builder's Star
Today, I'm sharing a tutorial with you for a block that is similar to a Carpenter's Star:

This block is 12.5" square, so it will finish at 12" square when sewn in a quilt.
For one block, you'll need:
White
(16) squares 2" x 2"
(12) rectangles 2" x 3.5"
(1) square 4.75" x 4.75"
Floral (center star)
(8) squares 2" x 2"
(1) square 3.5" x 3.5"
Purple Solid
(4) squares 3.5" x 3.5"
(4) rectangles 2" x 3.5"
(8) squares 2" x 2"
Pink Print
(8) squares 2" x 2"
(1) square 4.75" x 4.75"

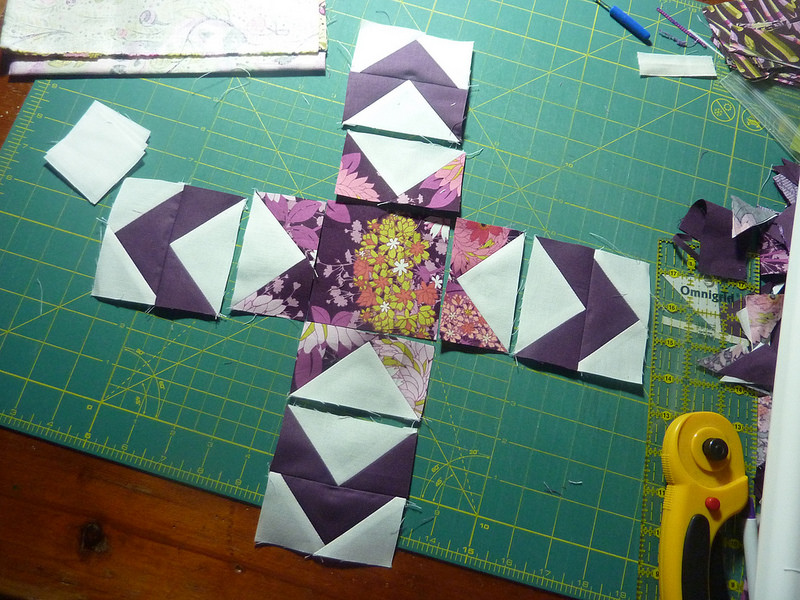
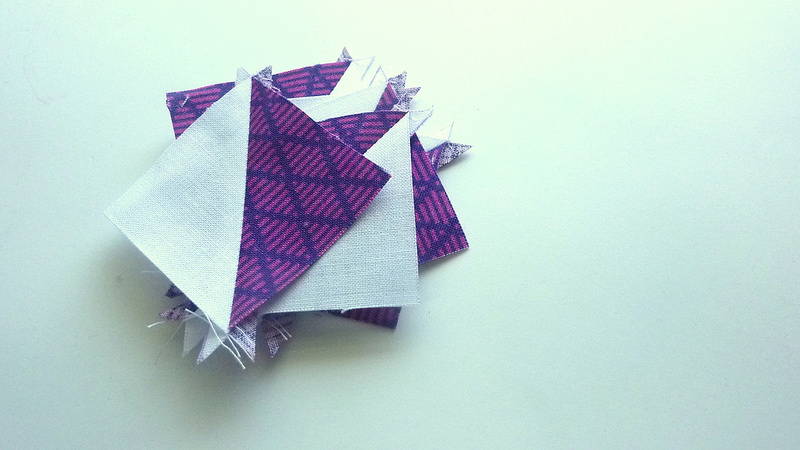
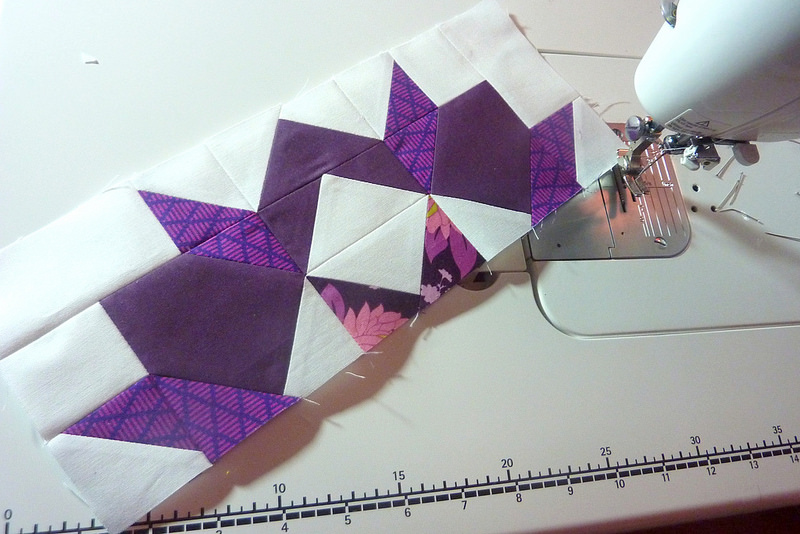
Chevrons - Make 4
Each Chevron is composed of a pair of flying geese made with the white and purple fabrics.
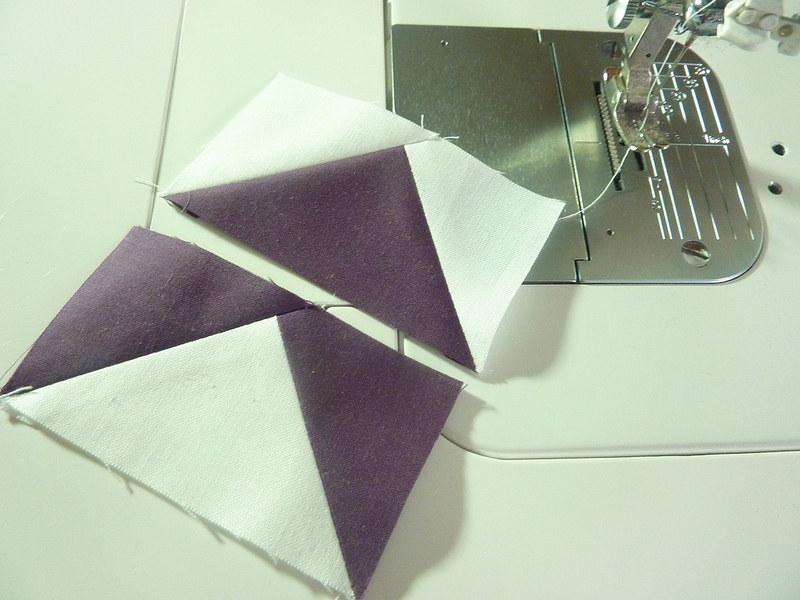
With your favorite marking tool, mark lines diagonally on the backs of 8 purple and 8 white 2" x 2" squares. You'll also need 4 white rectangles and 4 purple rectangles.
To make the flying geese units, follow these instructions:

Sew pairs of flying geese together. Press seams open.


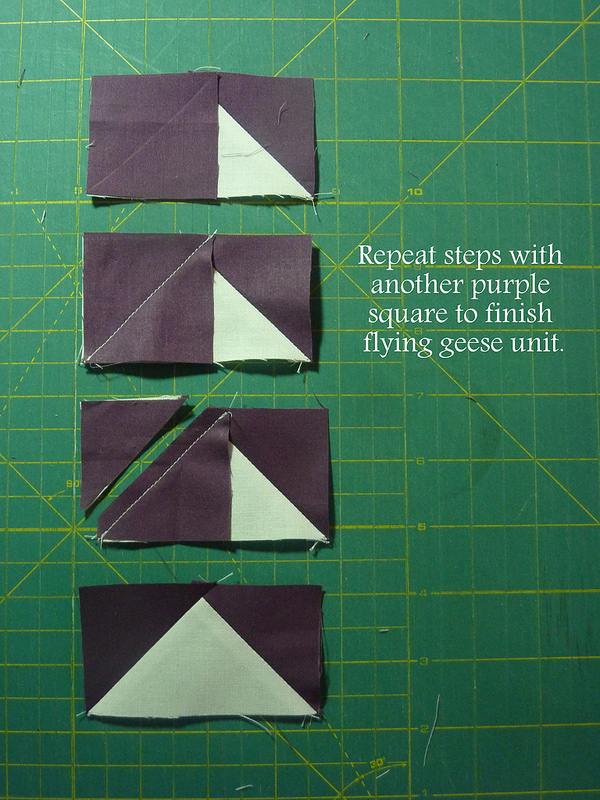
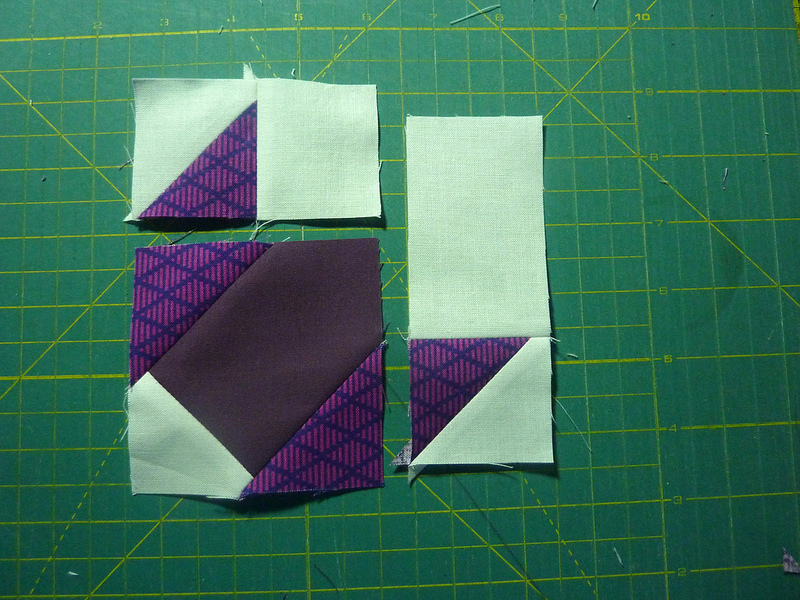
Star Points - Make 4
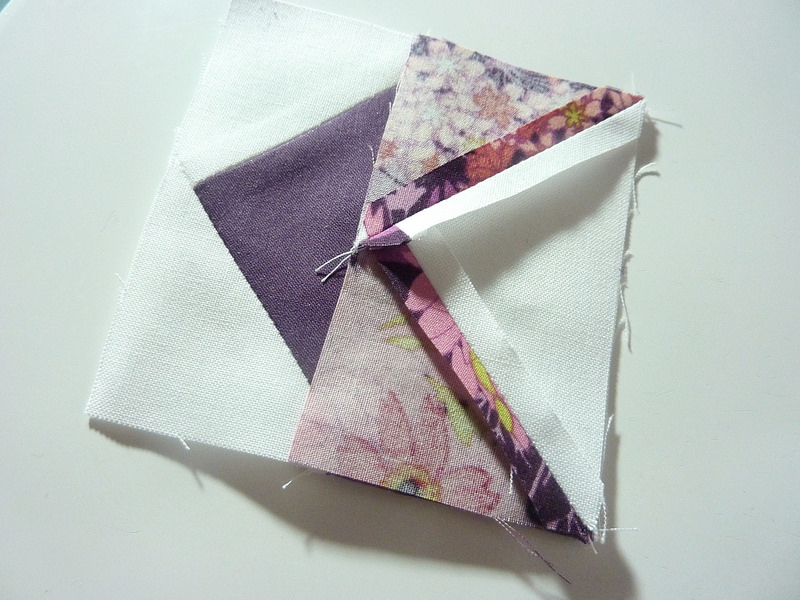
The Star Points are simply flying geese units with the white fabric and floral print. To make them, follow these instructions:
As before, repeat steps on the other side with another floral print square to finish flying geese units.
You're getting there!!
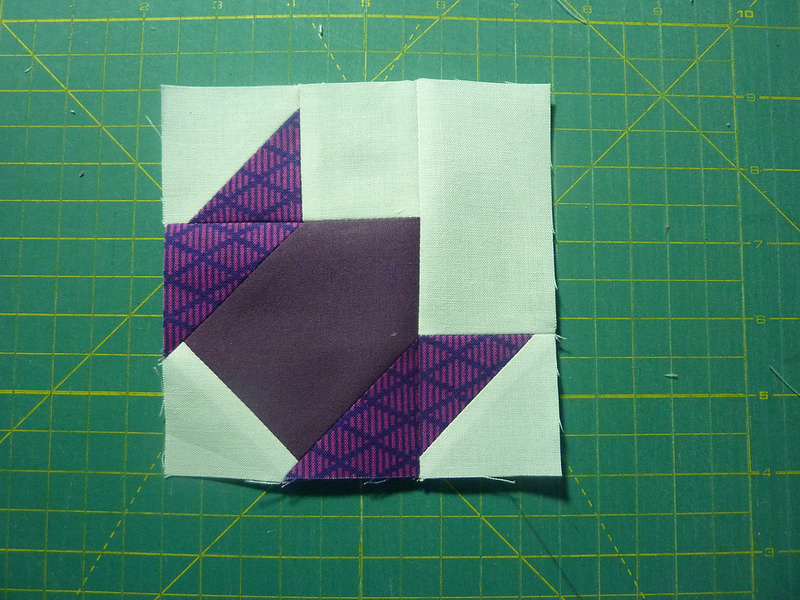
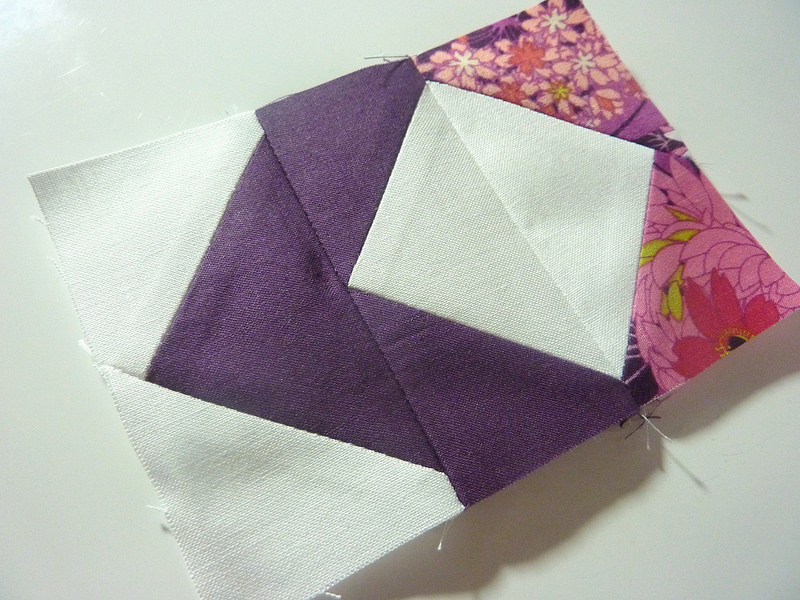
Corner Units - Make 4
The corner units are made from a number of pieces. You will start with the 4.75" x 4.75" white square and 4.75" x 4.75" pink square.
With your favorite marking tool, mark lines as shown on the white square. Mark two lines diagonally, corner to corner, and two lines vertically/horizontally through the center of the square.
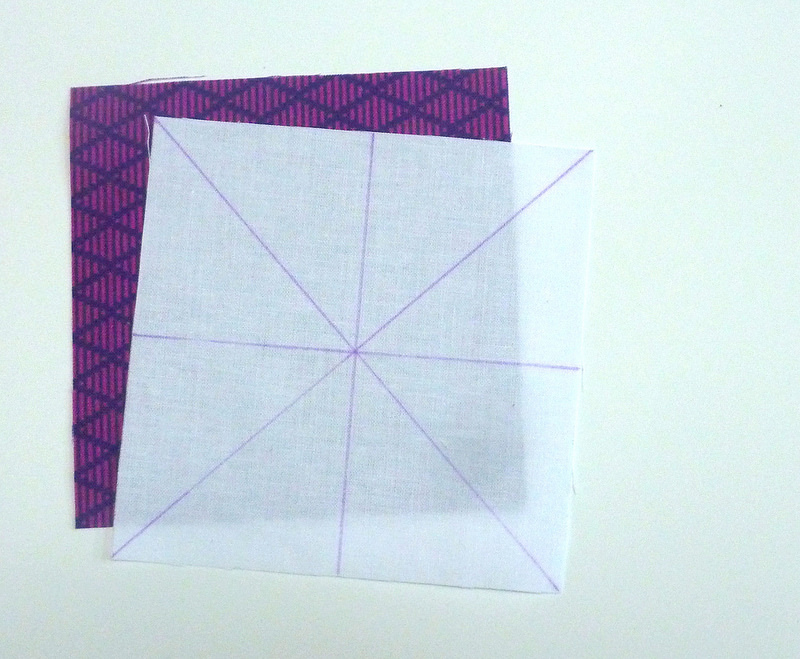
Pin the white square to the pink square, right sides together. Sew 1/4" on each side of the diagonal lines.


Cut along the straight lines.
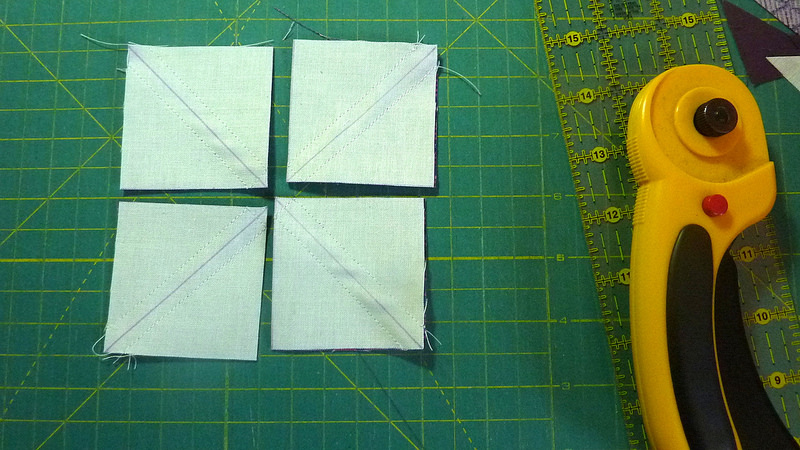
Cut along the diagonal lines.
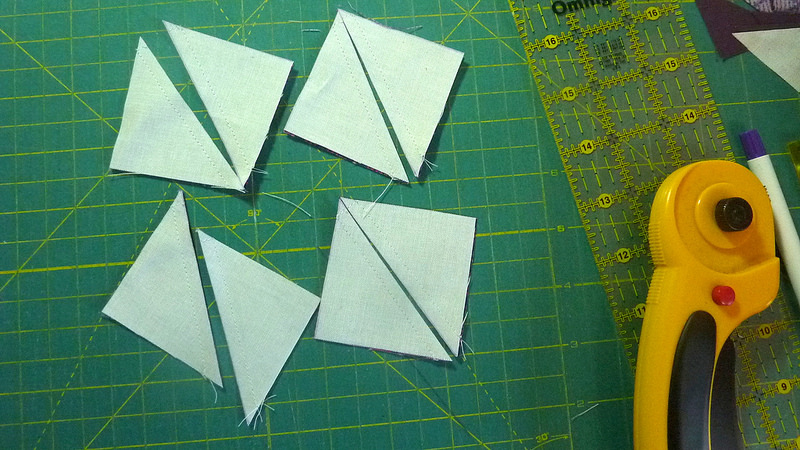
Press open. You'll now have 8 half-square-triangle units (HSTs).
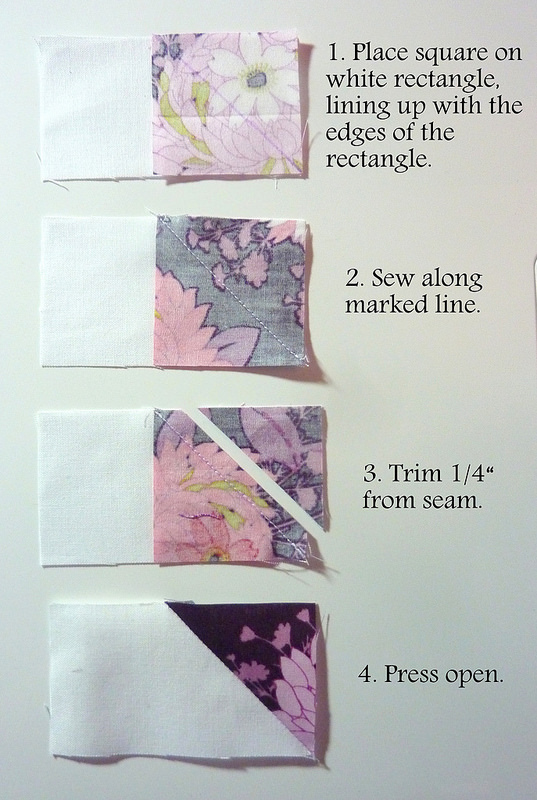
With your favorite marking tool, mark lines diagonally on 4 white 2" x 2" squares. Mark lines diagonally on the back of 8 pink squares. Then follow these instructions to create 4 square units:


For final assembly of each corner unit, you'll need (1) square unit, (2) HSTs, (1) white square 2" x 2", and (1) white rectangle 2" x 3.5".

Sew the HSTs to the white background pieces. Then sew to the square units.
Final Assembly
Sew the chevrons to the star points.
Lay out the pieces as shown:
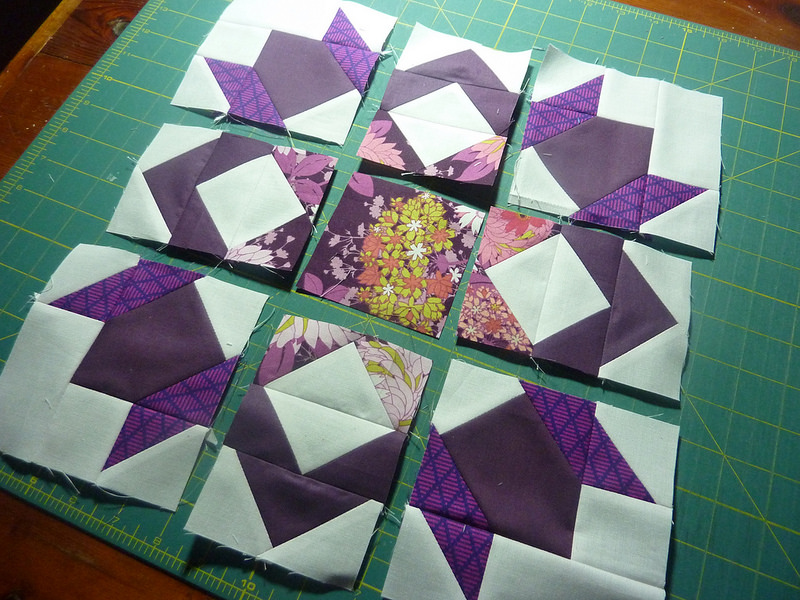
Sew pieces together in rows, then sew rows together.

Congratulations! You now have a beautiful Builder's Star.