FFMQAL: Matchstick Feathers Tutorial
Since the feathers quilted on a matchstick background from my Dyed quilt were so popular, I made sure a tutorial for them would be a part of the quiltalong. If you are still on Lesson 1 of Angela's course, that's ok!! This will always be here for you to return to.

There is a lot of backtracking/tracing involved in this method, so I suggest using a thinner thread to minimize obvious thread build-up. Using a matching thread will also help with this, and it will also hide any errors when you don't quilt exactly on top of the previous stitching.
I'm quilting on a quilt sandwich with teal on one side, a light print on the other side, and light thread. It will blend with the print and stand out against the teal. The pictures of the teal side will help you see the process, but normally I would prefer to use blending thread for this technique. You'll be able to see both looks with this sample to decide which you prefer!

Step 1 | Quilt your feathers
I won't talk much about this other than to say all of your feathers must be quilted (not just marked) before you begin working on the background.
If you need some ideas for your feathers, see some of the previous posts in the QAL.
Step 2 | Mark guidelines
Use a ruler and your favorite marking tool to draw straight lines every 3/4". If you are quilting on top of a pieced quilt, use the piecing as a guideline for your marking. In my Dyed quilt, I made sure my marks were parallel to the seams.

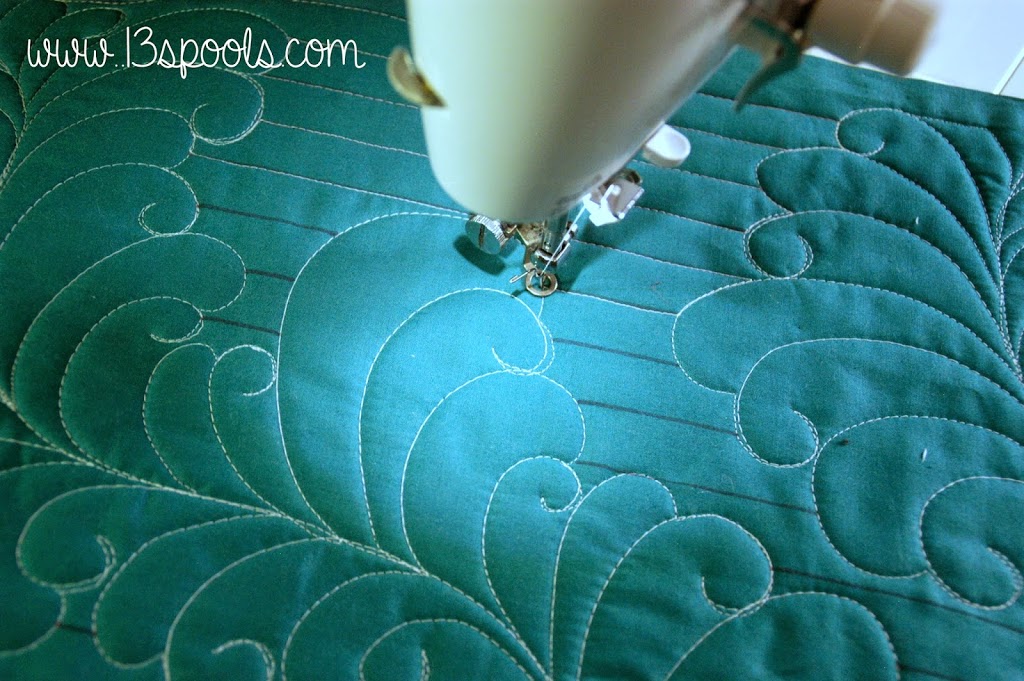
Step 3 | Quilt along the guidelines
At this point, you are not simply filling in the entire background - because matchstick quilting is so dense, you can very easily push fabric to the side and end up with tucks. Quilting stabilizing lines along those guides will prevent this from happening.
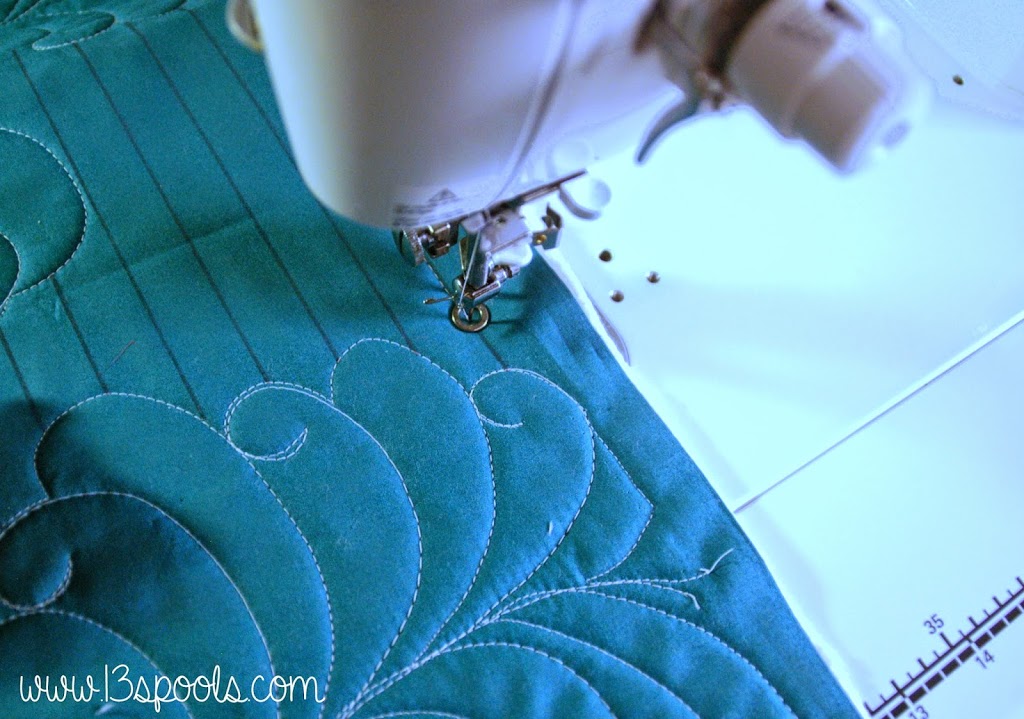
Find a natural starting place (for me, this was the edge of the quilt sandwich) and work your way across your project. With your FMQ foot, quilt down one line, travel along the feather edge (tracing over it with your quilting), then quilt up the next line.

You will never get "stuck" anywhere because you can always travel along those feathers. However, you might change your plans a little to limit the amount of backtracking you have to do. Below, I'm stopped at a petal. To get to the area above (or left, in the photo) the petal, I would need to track a long way around that petal. Since it's such a small area, I opted just to skip quilting the guidelines here and moved on.
The guidelines are just that - guides. Feel free to quilt elsewhere if you need to. Just be sure to quilt lines that are parallel to the guidelines, even if you don't quilt on them.
Step 4 | Fill in with straight lines
Working from one side to another, you'll fill in the straight lines in the same manner - quilt up, travel (just a smidge this time) along the feather edge, then quilt down. Repeat times a million :)

Since I FMQ these lines, they aren't perfect, but that's ok - even when you wobble, the overall look is there, and the texture is fabulous. The guidelines are there for you to look at for reference; aim to quilt parallel to them. If you accidentally quilt a little far apart (like in the photo below), just backtrack, add in a line, and continue on your way.

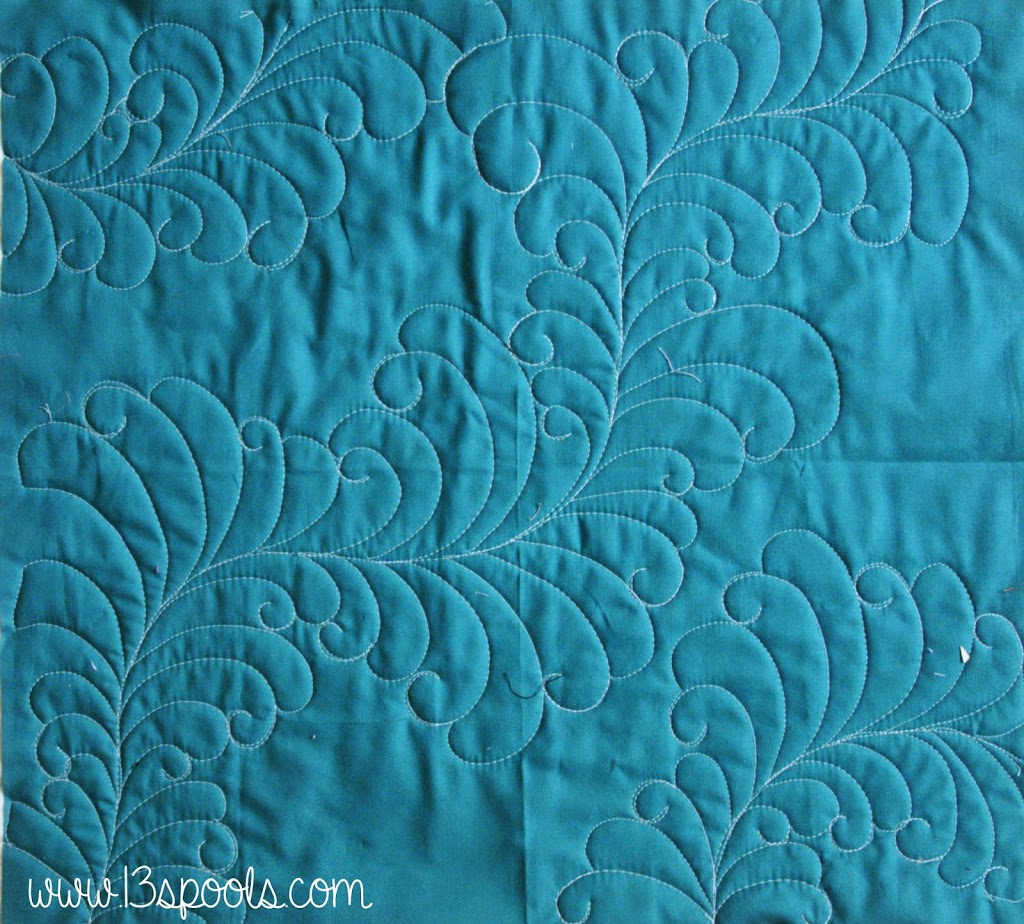
You can see how the look of this kind of quilting can really vary.
Contrasting thread:
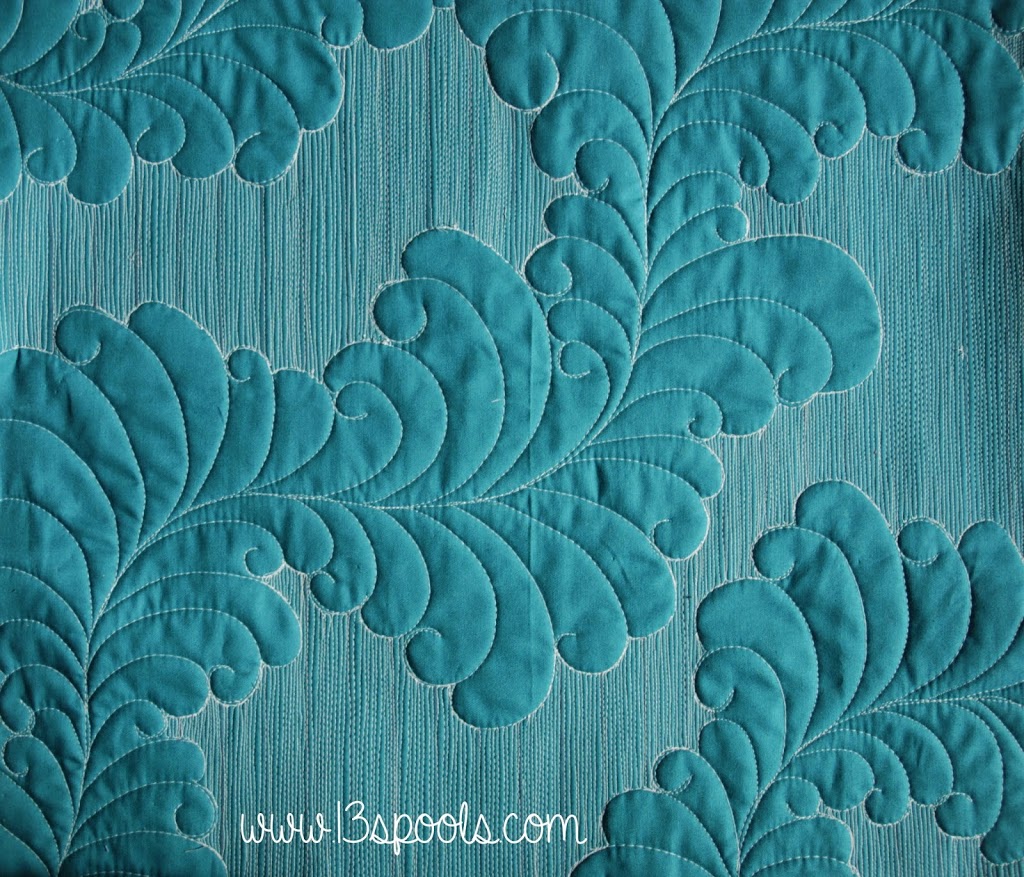

Blending thread:


I hope you enjoyed this tutorial! Let me know if you have any questions :)