Starship Block Tutorial
I should be working on a quilt that has a deadline...but...I'm holed up sick over here :/ So instead, I'm sharing this tutorial with you guys today (something I can do from bed!), and doing some serious finger crossing that I'll be able to finish my other project.
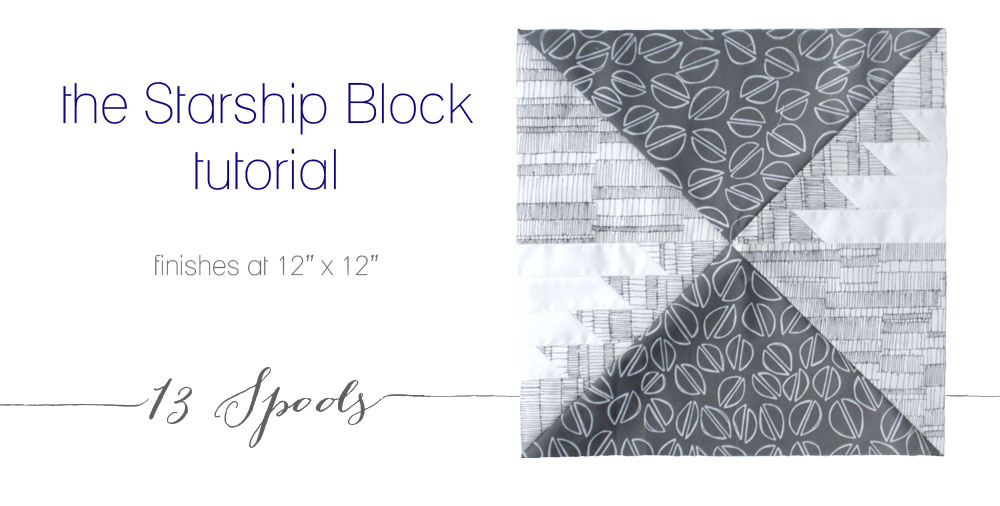
This block is great for showing off your favorite medium or large scale fabric, with a bit of tribal flair surrounding it. It finishes at 12" x 12" (12.5" before you sew it into your quilt top). I'm excited to be sharing a tutorial for it today!
Fabrics used:
Pistachios in Charcoal by Kelsey Boes of Lovely and Enough
Crosshatch in White by Carolyn Friedlander
Ladder Lines in Black by Carolyn Friedlander
I was going to use some cute nautical prints I had amassed, but this was more me :) I'm considering placing these blocks on point, and making a crib quilt. The world needs more non-cutesy crib quilts!!

Fabric Requirements
Color A (Pistachios)
- (1) pieces 13.25" x 13.25" cut diagonally twice to create quarter-square triangles
Color B (Black Ladder Lines)
- (4) pieces 1.5" x 8"
- (2) pieces 3" x 3"
- (1) piece 6 7/8" x 6 7/8" cut diagonally once to create half-square triangles
Color C (White Crosshatch)
- (4) pieces 1.5" x 6.5"

Piecing Instructions
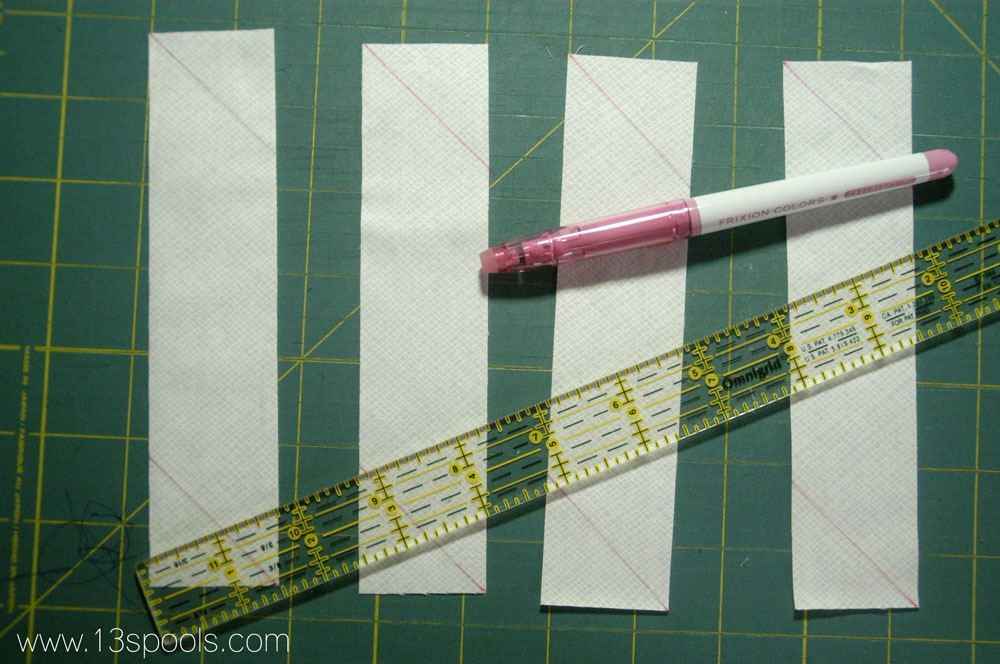
1. Draw 45* lines on your white (color c) strips on the wrong side of the fabric, as shown.
2. Place a white (color c) strip on top of a black (color b) strip at a 90* angle. Sew along the marked line, as shown. Trim excess seam allowance fabric and press open. Repeat with all strips.

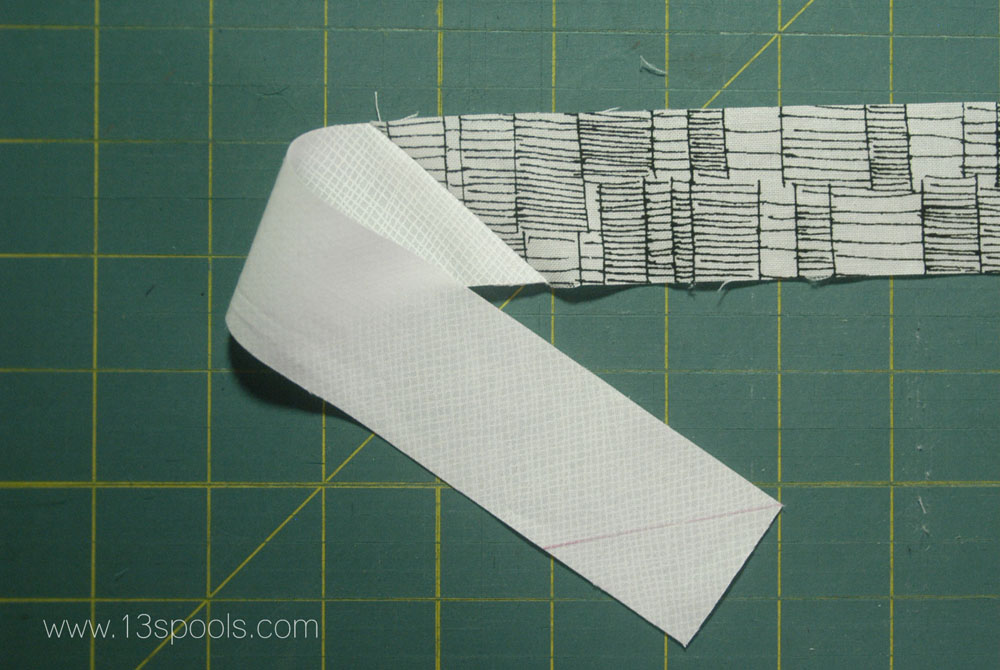
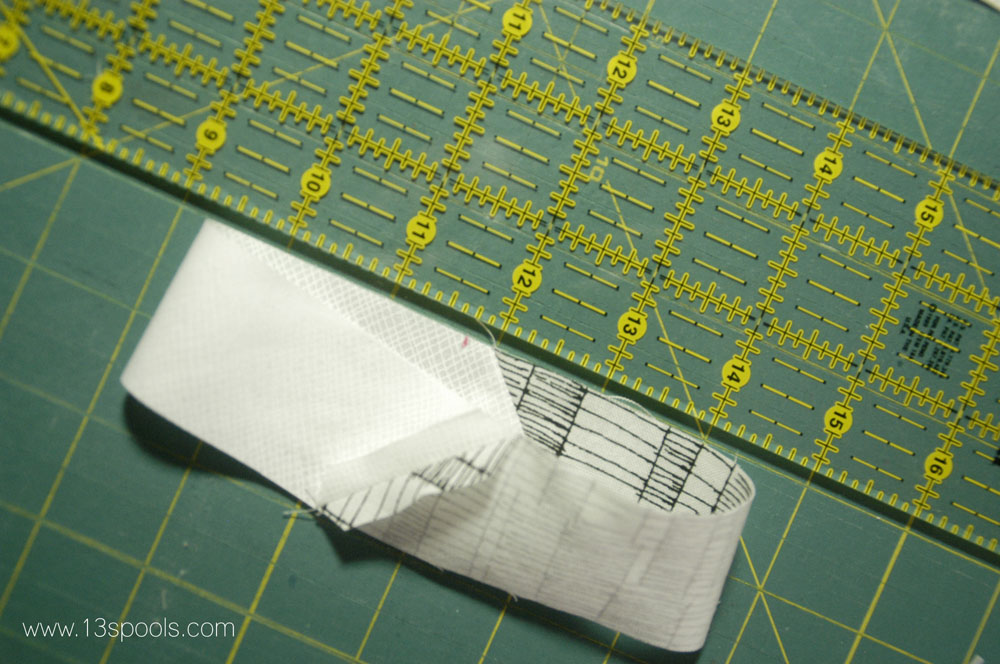
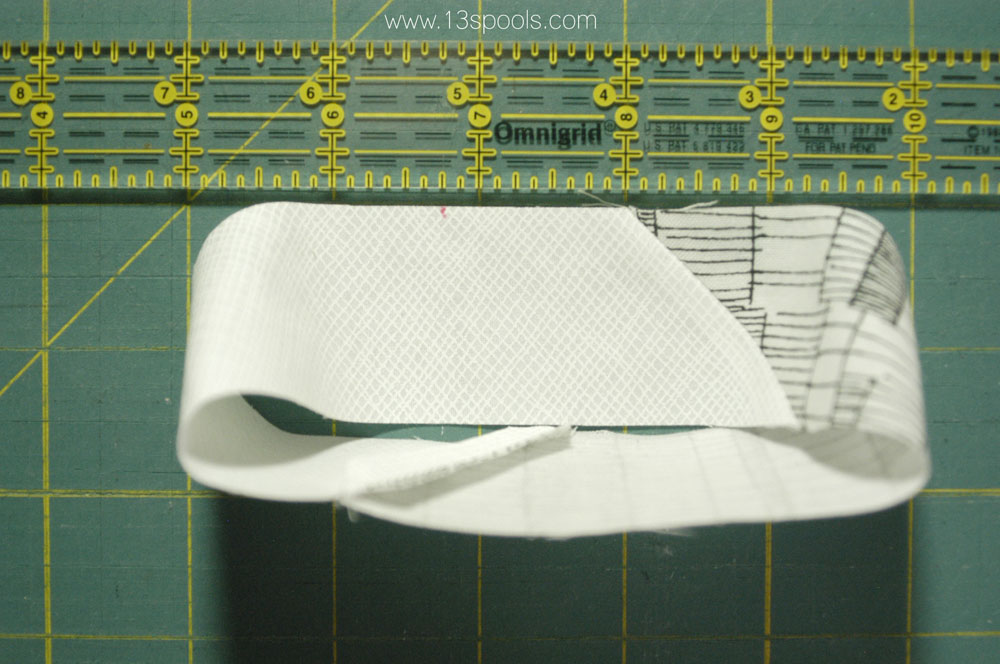
3. Now you're going to turn each pieced strip into a loop - fold it right sides together so that the ends are touching. Then, rotate one end 90* as shown. Pin and stitch along the marked line. Trim and press open. Repeat with all strips.

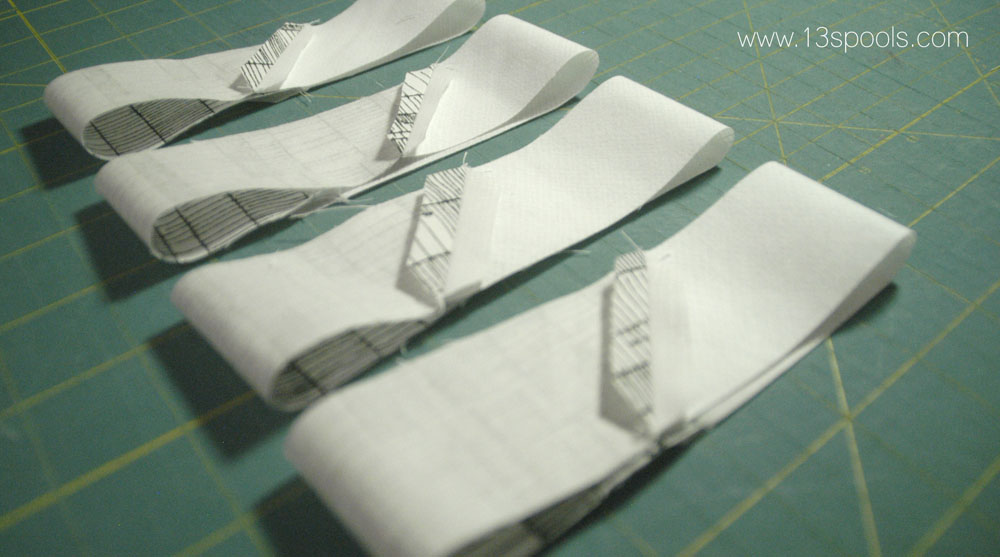
Now, you'll have four of these:
4. It's time to make cuts into the loops. Start with just one loop. Place onto your cutting mat as shown.
Mark 1/4" away from the diagonal seam. Cut straight across the loop here. Repeat with a second loop.

5. Cut the remaining two loops as follows:
Mark 1 1/4" away from the diagonal seam. Cut straight across the loop here.
6. Now you will have four pieced strips. It's time to cut across all of the strips, through the black (color b).
Mark 4" away from the diagonal seam, into color b (I'm measuring 4" in from the left along the top edge of the strip in the photo below). Cut straight across the strip here. Repeat with all remaining strips.
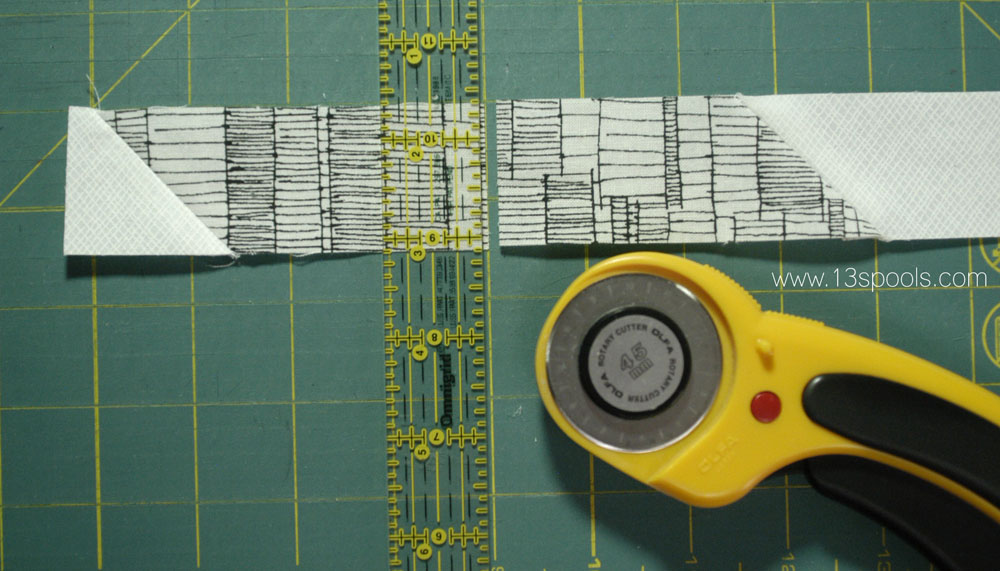
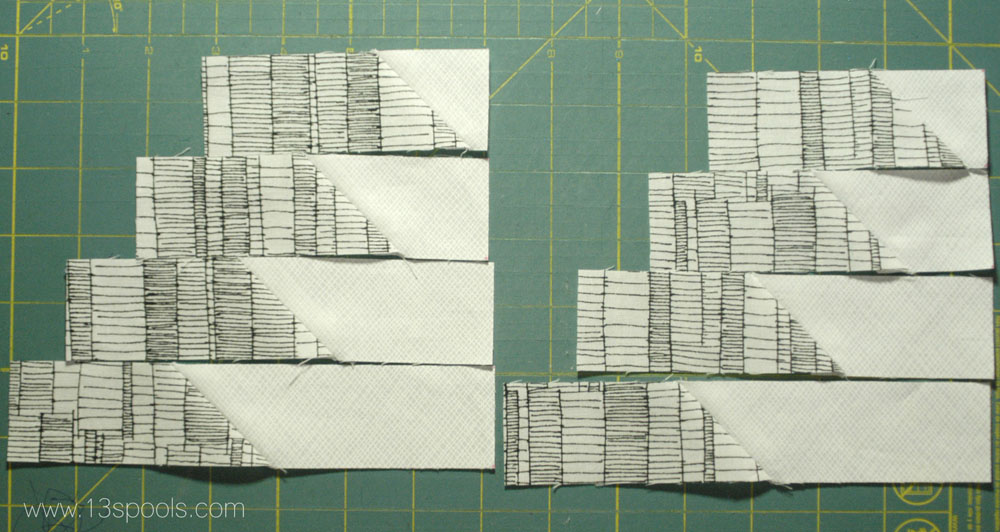
Now you'll have two sets of this:

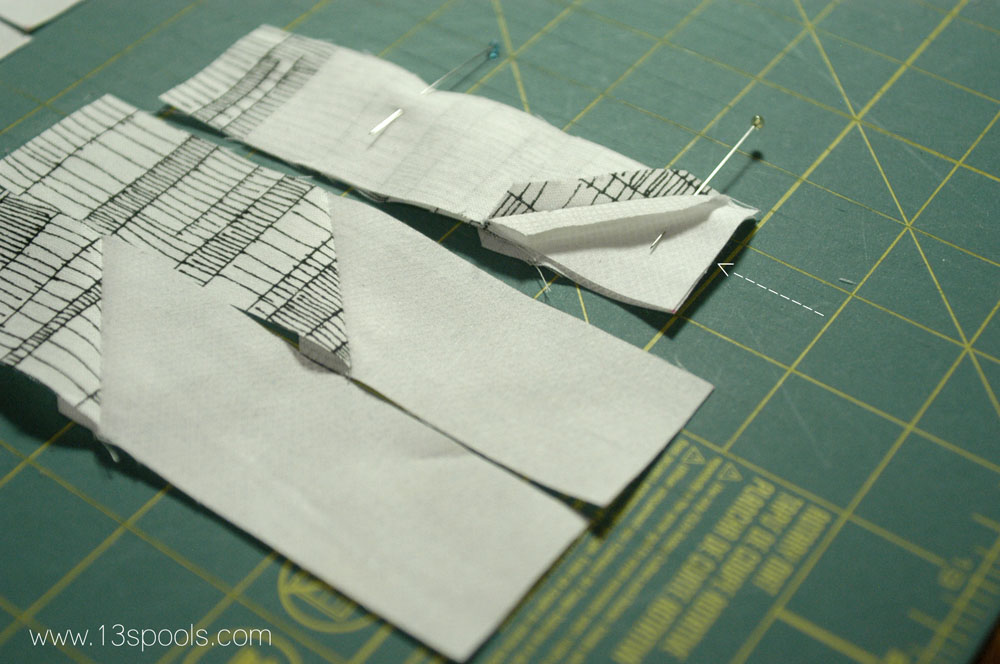
7. Rearrange the strips as shown.
 Stitch together, aligning the right edges together (see arrow in photo below). Press open.
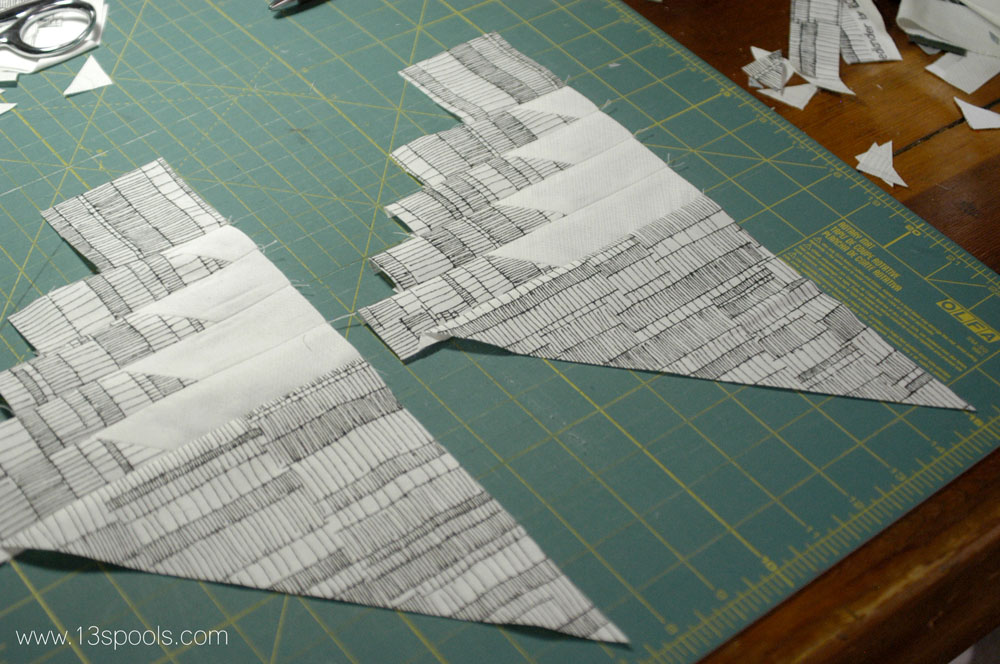
8. Sew on 3" x 3" black (color b) pieces, once again aligning right edges. Press open.

9. Sew on the color b HSTs, as shown, still aligning right edges.
10. Arrange the pistachios (color a) piece as shown.
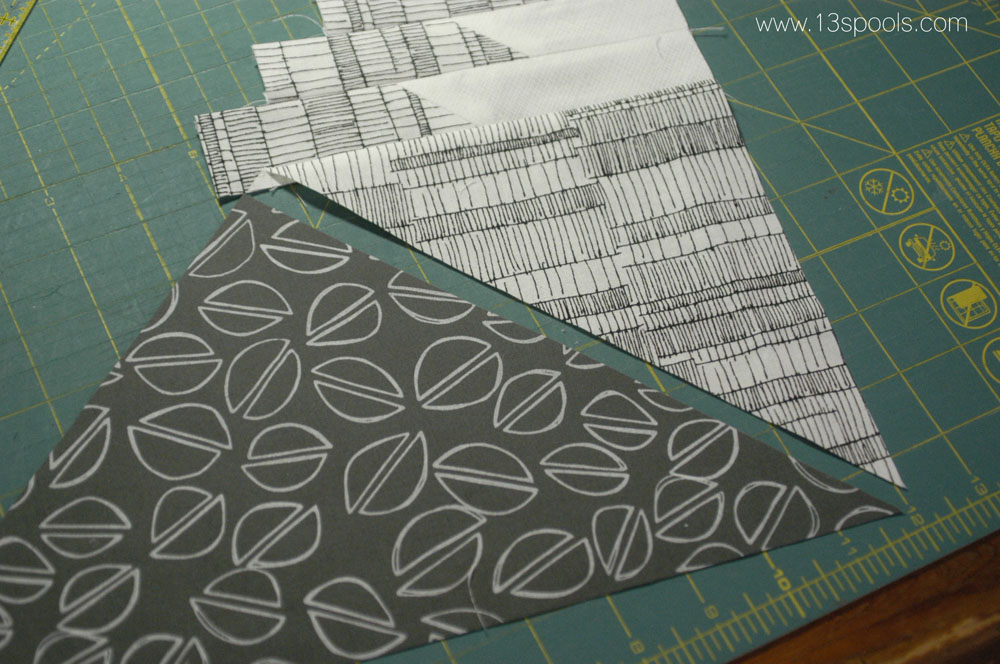 Flip and pin, then stitch. Press to the side. Repeat with remaining pieces to create two halves.
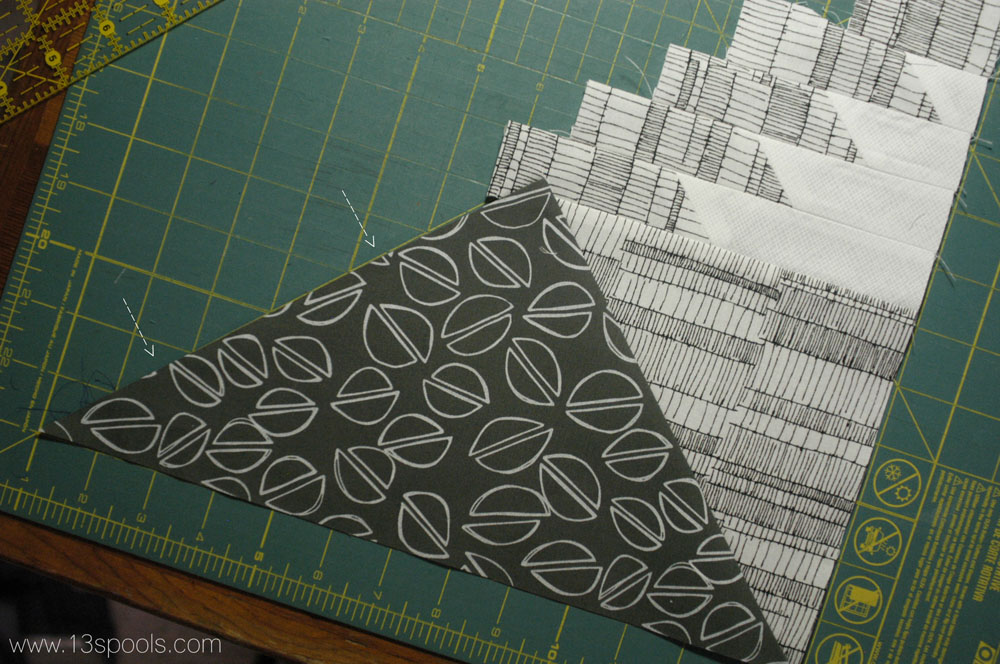
11. Line up your block with the 45* line and a regular line on your cutting mat. Use this guide to line up your ruler and trim down the jagged color b pieces. (The arrows in the photo below are pointing to the 45* line).
12. Sew two halves together. Press open.

Ta-dah!
