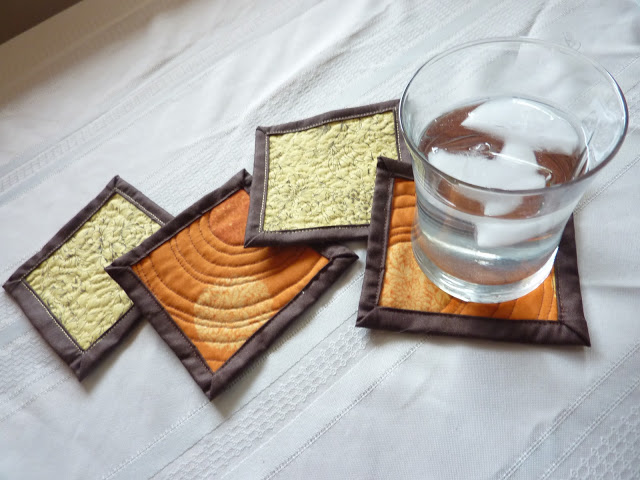
Coasters!

I've been wanting to do something for the Celebrate Color contest over at Stitched in Color. So I pulled out a number of fabrics that I thought looked like fall - stash only project! I have a number of yellows and oranges from a recent fabric swap at the Indy Modern Guild meeting - colors I don't normally have a lot of. So the swap gave me the starting point.
Now, since little Charlie has made his way into the world, I've had markedly less time to myself - so I promise that even if you have a newborn who is a weak and slow eater, you can make these! It only took me a week to make these four :). I'm proud to have actually finished something with a newborn, since I've only had about 30 minutes of free time a day since he showed up, so I'm linking to Finish it up Friday.
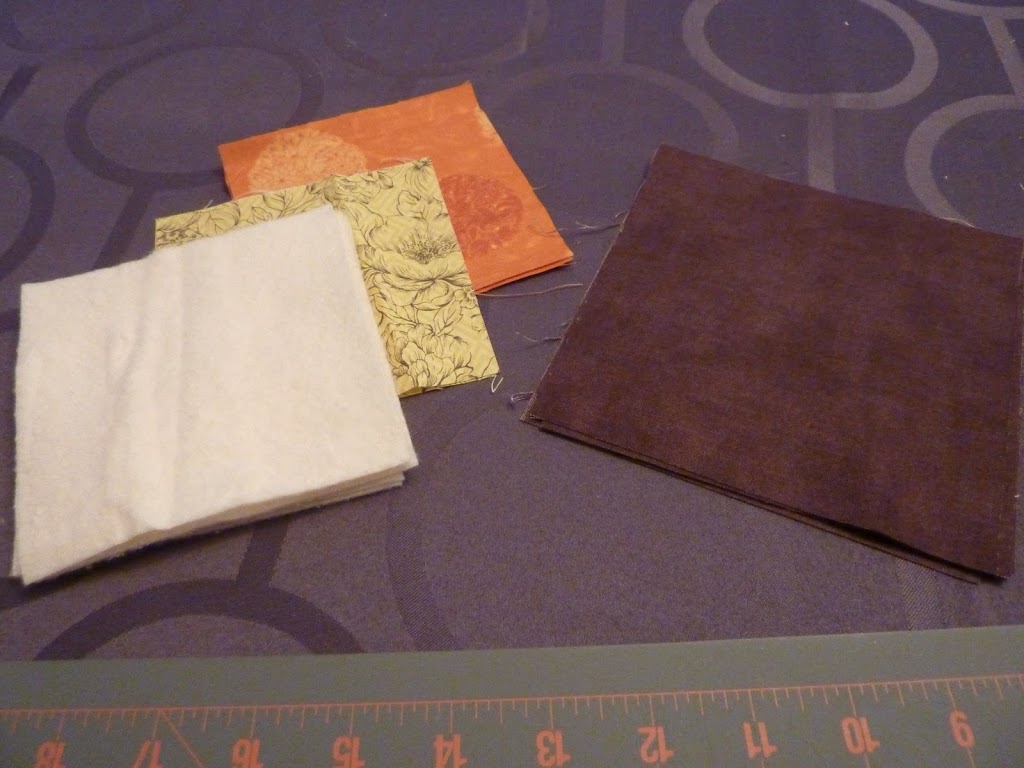
1) Choose your lovely fabrics - your main fabric and the fabric that will be used for the back (and will also make up the binding). Cut 4.5" squares from the main fabric, 6.5" squares from the backing fabric, and 4.5" squares of batting. This will yield a coaster finished at 4.5" - if you have larger glasses, make your main squares and batting larger, and the backing squares 2" longer on each side than the main squares.
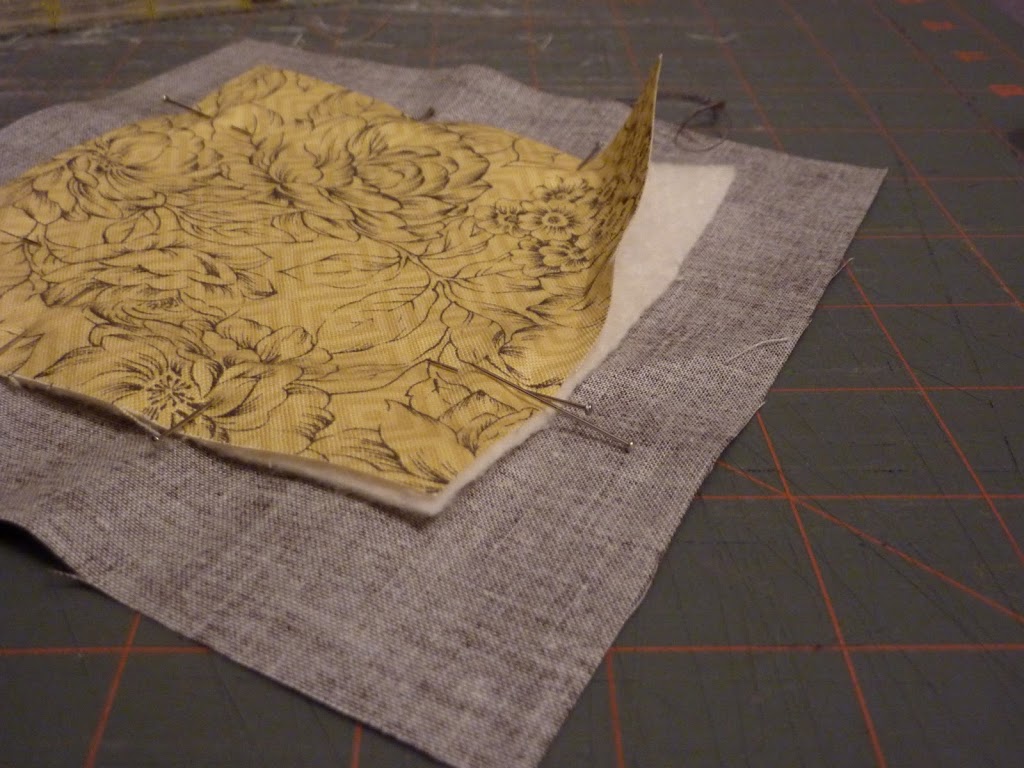
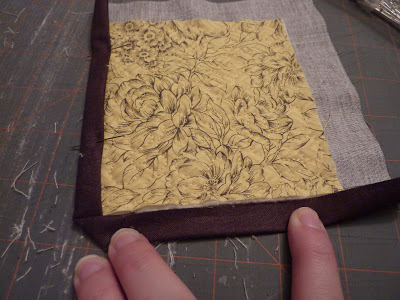
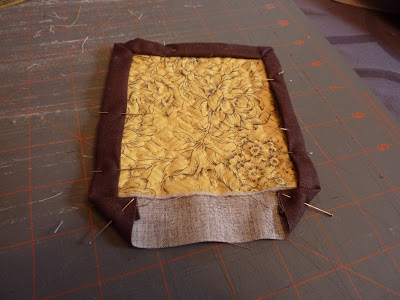
2) Layer your fabrics: main fabric right side up, batting, backing fabric right side down. Pin or spray baste the sandwich together. I just eyeballed, but you can measure to make sure there is an 1" of the backing fabric on all sides.
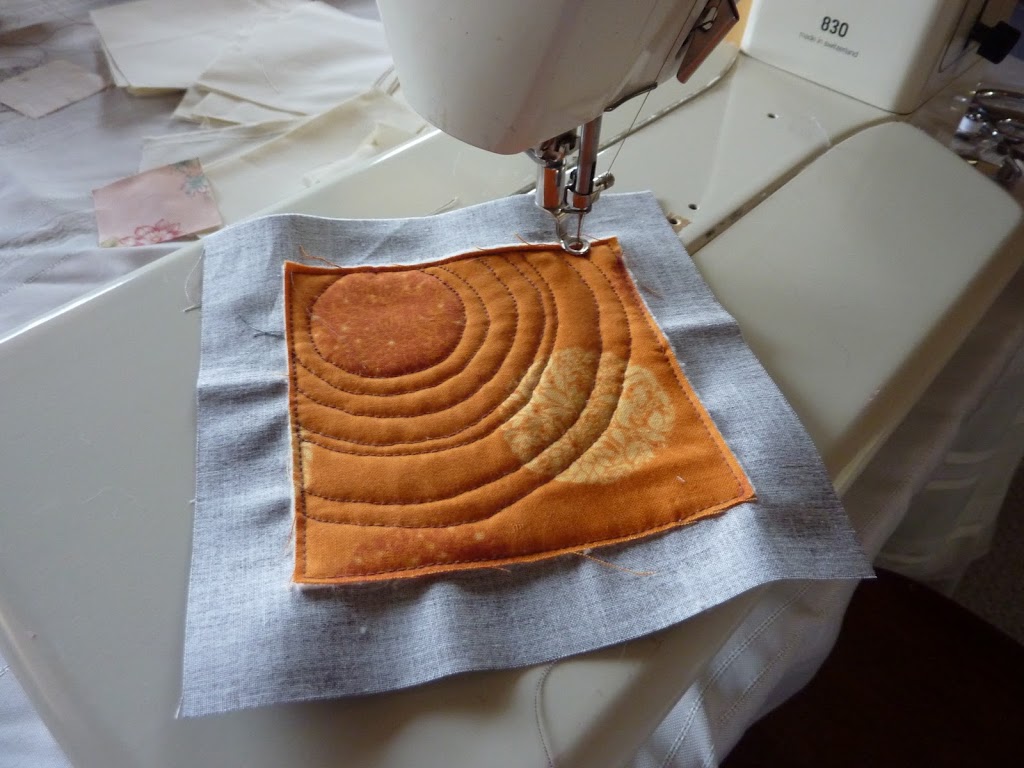
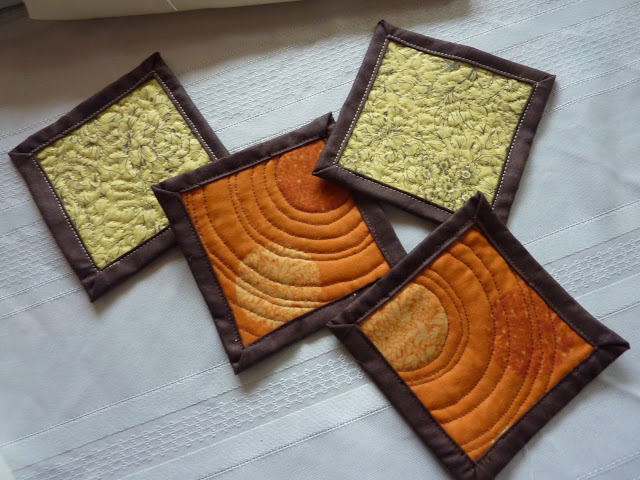
3) Quilt as desired. You can skip this step if you don't know how to quilt by simply spray basting all the layers together. Dritz makes excellent spray baste intended for fabric. This is a great time to practice new designs! Exactly what I need :). I practiced some stippling and some echo quilting. These are the perfect size for practice - nice and tiny in case you don't like what you are doing.