How to machine quilt with pearl cotton
Hi all! Today I want to share with you a tutorial on how to machine quilt with pearl cotton. I for one love the look of pearl cotton, but don't have the patience to handquilt! So I decided to try using my machine. While you won't get the same look as handstitching (because there is no white space between stitches), you'll still get the vibrant and awesome look of this thicker, beautiful thread floating on your quilt.
Step 1: Wind your bobbin
I used pearl cotton 8, which is too thick to fit through standard machine needles. But, it does fit on your bobbin! Put the spool of pearl thread onto your thread stand and start winding your bobbin as usual. Hold your finger gently on the top of the spool to keep it from flying off.
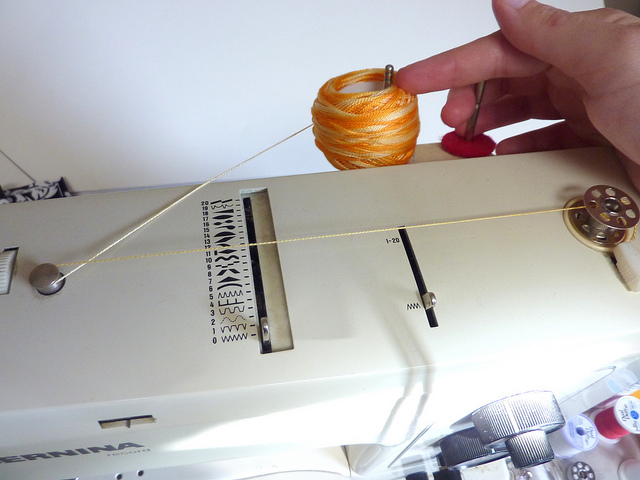
After a filling a few bobbins, I found it wasn't working well to put the spool of pearl on my thread stand. So I started holding it gently cupped in my hands. You can also place it on your index finger, and touch the tips of your two fingers to create an impromptu "stand". Just keep the thread wrapped around the winding mechanism in the same way and wind slowly.

When I pulled the thread tail out of the bobbin case, I noticed it pulled out very slowly. However, it quilted up just fine! The machine didn't seem slowed down by this at all.
Step 2: Pick a matching top thread
Find a top thread that matches the color of your pearl cotton. Since my pearl cotton was variegated, I chose a thread that matched the middle value/color of my pearl. You'll want a nice, strong thread for this job (preferably cotton or polyester).
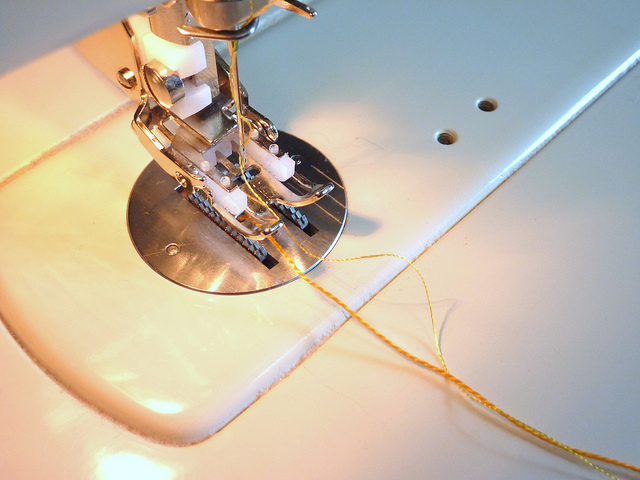
The pearl cotton is too thick to be pulled through the quilt top. Instead, it will sit on top of the quilt top with the other thread loops visible around it, so it is important to match your thread well!
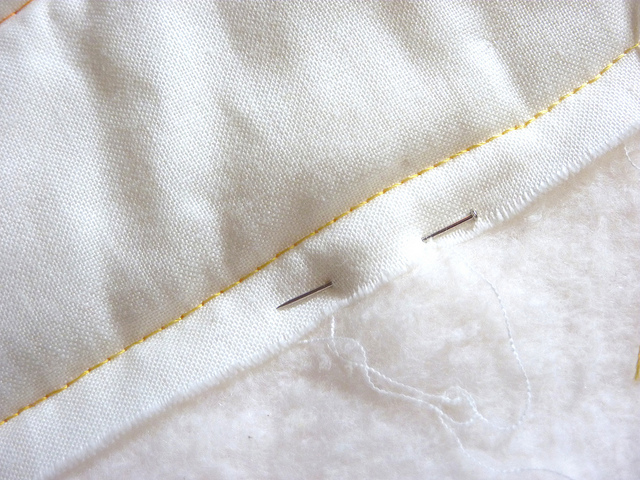
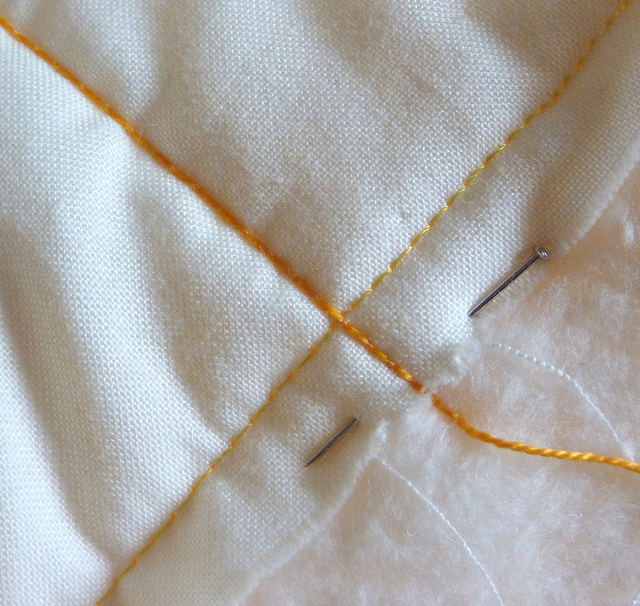
Step 3: Pin the quilt top in place where you will be stitching
This will keep the quilt top from flipping over itself and being stitched on. It will also help you know where to sew, as you will be sewing with the quilt back UP.
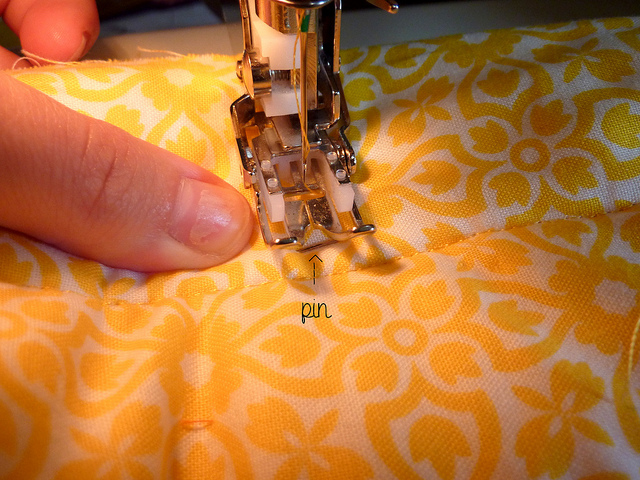
Step 4: Quilt
Place the quilt, with the back up, under your walking foot. Start stitching just before the pin. Stitch slowly to be sure you do not hit the pin.
Step 5: Flip over and admire your work!
Don't forget to remove your pin.

Let me know if you have any questions :) Have fun quilting!