Groove Quilting
The Totally Groovy Quilt Along is reaching is end, and it's unlikely that I'll be able to meet the deadline to qualify for any prizes - but I'm so close! I've been pounding away at this quilting, and it's the largest quilt I've ever attempted to machine quilt. I've handquilted projects this large, but, well....one of those has been in the works for several years now, lol :).
I had the hardest time picking backing fabric. I wanted something that looked very 70s, and eventually did settle on a piece. I bought the four whopping yards of fabric that I needed (of a print), brought it home, and immediately regretted it....bah. Never buy backing fabric when you don't have your top. So when I saw photos of this French Bull fabric on my LQS's facebook page, I knew that was it! Totally groovy.
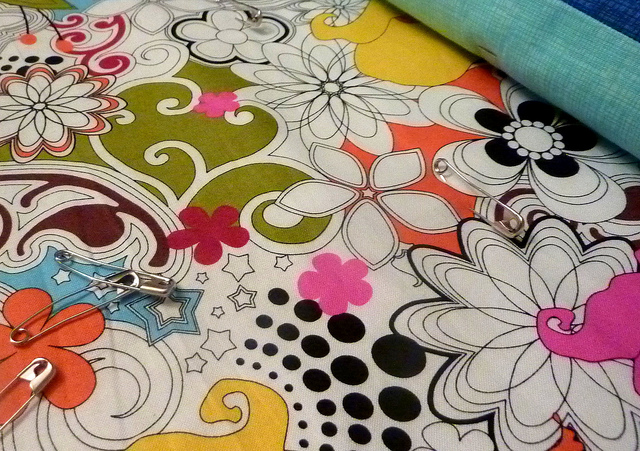
{spirographs + flower power = totally groovy!}
Then I got it home, managed to seam two pieces together to perfectly match using the technique from Elizabeth Hartman's free Crafty Class (Creative Quilt Backs - you should totally take it!!) and.....
I don't know folks. I might regret it a little bit.

When I stand back, it looks like Hawaiian flowers! Not seventies goodness. Sigh. I think it's because the pink and yellow flowers are the largest and tend to dominate. I asked my husband if it was too late to change my mind again, and he gave a resounding "YES!". (side note: my camera lens appears to have a huge smudge on it! boo....sorry for the quality, I'll have to get that fixed up)
But part of the reason I bought this fabric for the backing was to help me quilt this big guy. I was looking for something fun and different from what most people were doing (assigning one FMQ pattern to each color). Heather (owner of Crimson Tate, my LQS) suggested using the backing as a guide for quilting. Yes!!!! Perfect!

It's not quite FMQing in that sense, more like continuous line quilting. In order to use this method, you'll want to pick a fabric that has lots of elements touching each other. Then spend some time looking for a path all the way from one repeat to another. At first, I was looking horizontally and couldn't find a path, but I found a great path vertically. You can see a bit of it here:

The pink flower touches the spirograph which touches the flower with the black center which touches the yellow fabric, etc...
By following this path, I quilted "columns" all over my quilt. You can see them a bit in this photo:

Unfortunately there were large gaps between each of the columns - too large to leave alone. So I searched and searched in order to find a way to fill in some of the gaps.
See that pesky blank area?
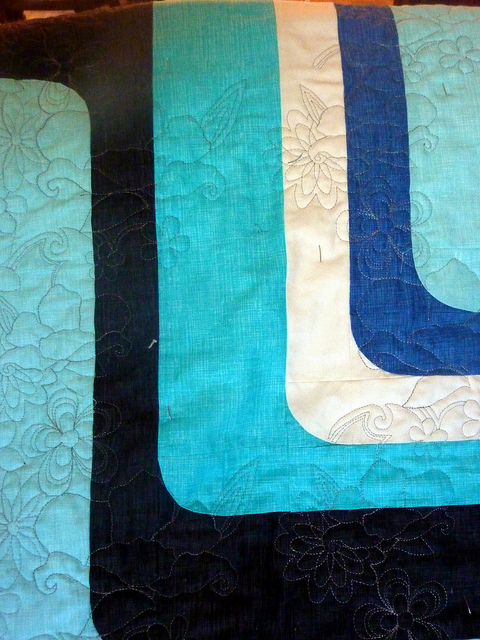
I was able to find a path curving in a U-shape through each gap. It's not a perfect solution - fabric designers don't exactly design their fabrics for this purpose! I do have to break the thread each time because there's no easy way to connect between the repeats, but that's ok; it's a fairly small portion of the quilting. You can see here how different it looks all filled in (on the left side of this photo) in comparison to the gap (right side of the photo):

I highly encourage you to try this same technique! It's allowing me to create this rich, complex all-over quilting pattern really easily. It's also giving me some great practice at backtracking and following lines for when I gear up to finally quilt my double Irish chain quilt (which seems more doable now!).
