Paper Piecing Instructions: Part III

This is the final post of a three part series. For supplies & setup, see here. For how to paper piece, see here.
In this last post, I'd like to throw out three tips for you paper piecers.
Now, there are a ton of other tips and topics I could have covered, so it was hard to narrow it down!
Today, I'll be covering:
1) Using the bare minimum
2) Chain piecing
3) Easy ripping
Using the bare minimum
Paper piecing requires plenty of extra fabric, which gets cut off and wasted. But if you are a cheap, stingy quilter like me, you really want to use the smallest piece possible! The best place to save fabric waste and be extra stingy is with section #1. Your fabric piece only really needs to be 1/4" larger all around than the template section. Let's take a look at how I'm being stingy with the Prism pattern.
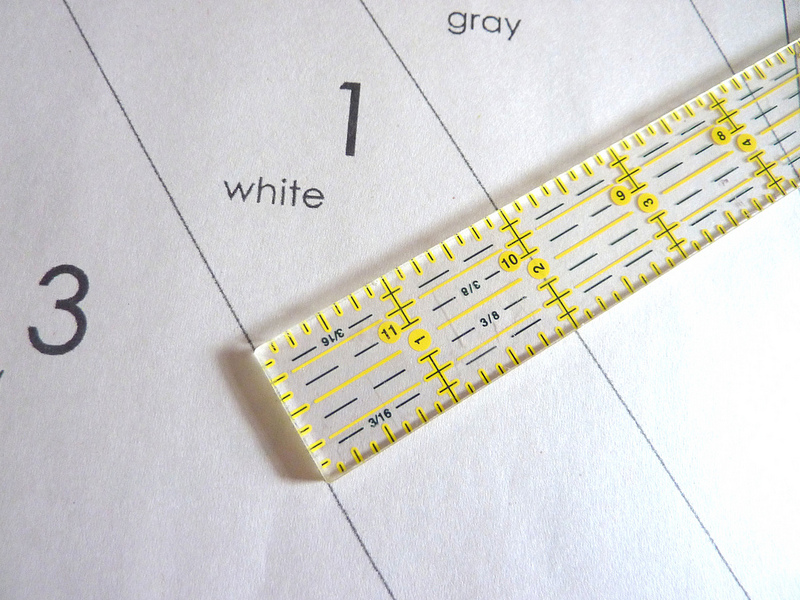
Section #1 is 2" wide. That means I can get away with using a piece of fabric that is only 2.5" wide, if I place it correctly. This worked out perfectly, since it enables me to use a jelly roll for this pattern, with lots of fabric variety. It would have cost a lot more to buy a fat 1/8s bundle of 30+ different fabrics! Not to mention, it saves me a lot of cutting.

Normally I would pin the fabric over section 1 (see instructions here) and cut back to the seam allowance. Instead, I eyeballed the placement of the fabric and pinned it in place.
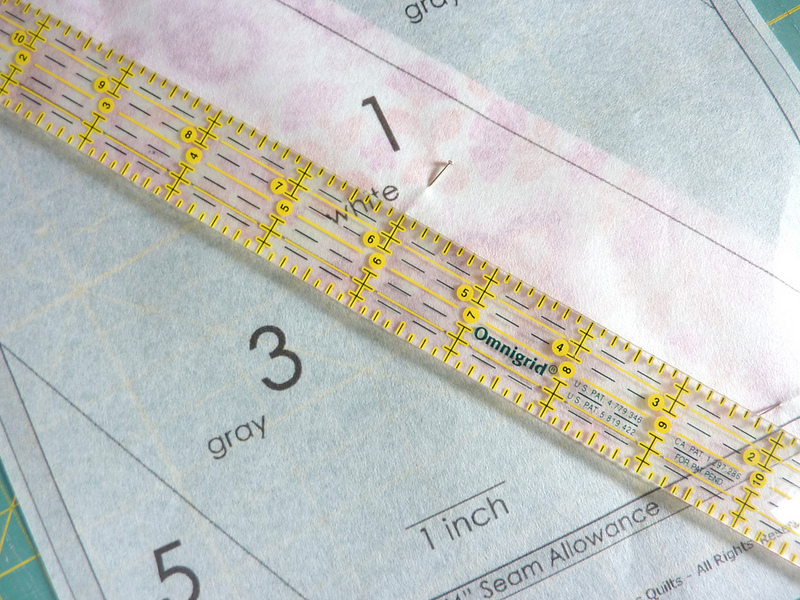
Then I used my Omnigrid ruler to make sure it was placed correctly and there was actually 1/4" of fabric extending beyond section 1 on each side.
There was! So I basically skipped over the trimming back step, and can move onto sewing. There you go, stingy fabric hoarders :)
Chain piecing
You can totally chain piece when paper piecing! Actually you can chain everything....pinning, sewing, pressing, trimming....
After I'm comfortable making a new paper piecing block, I like to make four at a time. I do each step to all four blocks at a time, which saves a load of time moving between my cutting mat, sewing machine, and ironing board. Below, I am pinning fabric 1 to all the blocks, then aligning and pinning all the fabric 2 pieces on the blocks.
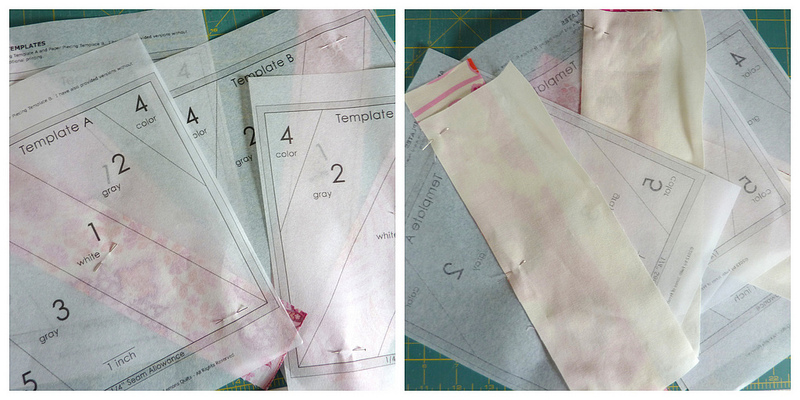 |
| Do each step to four blocks at a time to increase efficiency! |
When chain piecing, you'll just be sewing the same seam on each template without breaking your thread between. Since the paper templates are bulky and get in the way at times, just give the first template a generous shove behind your needle once it's complete. Place your next template under the needle, and sew away! The thread will remain intact between the templates.

(Of course, it'll be a little easier if you trim down your templates before you start sewing. But I like to wait until the end, so I don't have to do that step twice.)
Easy Ripping
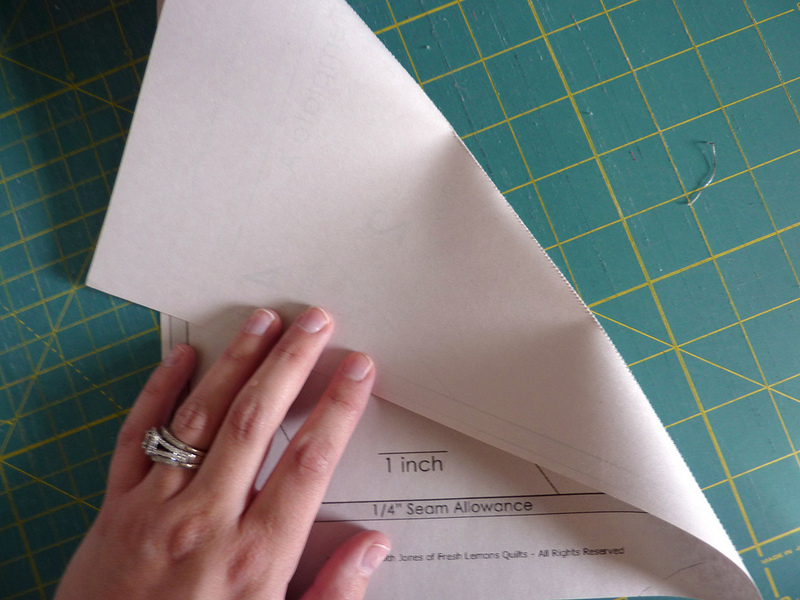
Elizabeth (who also taught me how to paper piece correctly - thanks girl!) passed on this tip that she learned: before starting a block, pre-perforate your template by "stitching" along the seam lines without any thread in your machine. This will make your paper super easy to rip off at the end. But you might want to keep your stitch length at 2 for this trick - you don't want the paper to fall off before you're done! As an added bonus, it's also really easy to fold the paper.
I hope those tips help you paper piece a little more easily! Like I said, there are so many other tips, so don't be afraid to look at different tutorials (especially videos!) to see if there are other methods that fit your style better. Now, go paper piece :)