Far Far Away

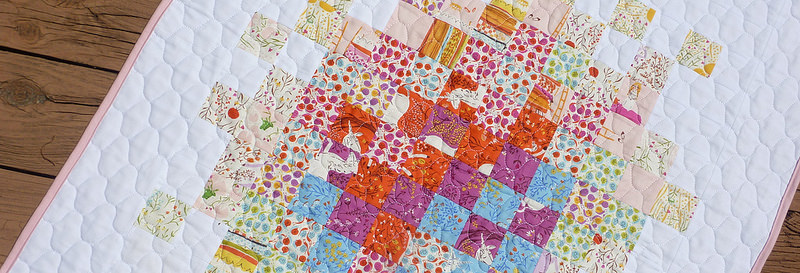
It's done! Last night I machine bound this little baby quilt. Since I love ombre (as you all know), it only seemed natural to go that route.
I really appreciated everyone's comments on it! It was quite enjoyable to have a quick project - nothing like a bit of instant gratification :).
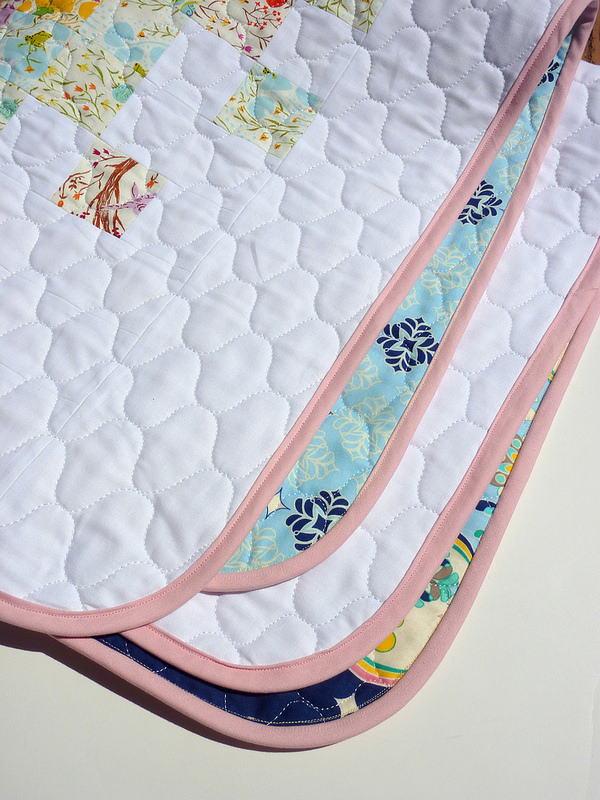
I just felt like this quilt was destined for curved corners and pink binding, in keeping with its sweetness.
Heather Ross does such a great job of creating adorable fabrics that aren't kitsch.
A lot of you were curious about some of the quilting aspects. For starters, I marked this quilt with Frixion Markers. I had recently been lamenting to Charlotte that I liked the concept of Frixion pens, but markers are really easier to use for quilts. So I was pretty pumped when Molli Sparkles told me that Frixion markers did indeed exist!! I promptly ordered some and tried them out on these curtains.
Frixion products are removed by heat, so an iron makes the ink disappear. But they aren't specifically designed for quilters, so if you want to use them, you should always test them on fabrics before using them on your quilt top.

Since the main complaint of these markers is that they leave a white halo when ironed away, I've only tried using them on light fabrics so far. I did use the pens on my Fire & Ice quilt, and some white lines showed up. I was able to wipe them away fairly well with a wet cloth, and lots of people have good luck with these lines disappearing after they wash their quilts. I'll do a more in-depth review of the markers once I have a chance to play with them more.
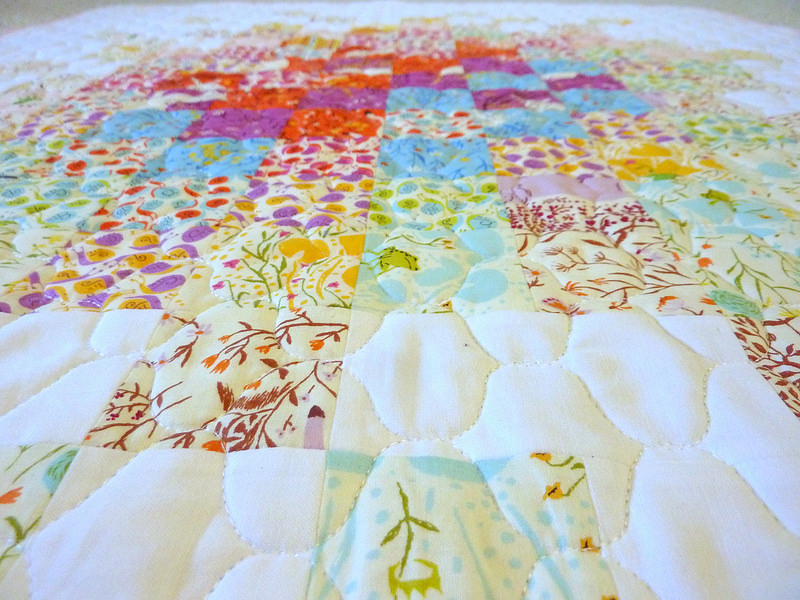
Some of you also asked about how I actually quilted this trellis pattern - after looking at the stencil, I found that it was actually a quite simple pattern to quilt: just a free-motion-quilted line that waved back and forth. Using a walking foot would have required a lot of turning, and FMQing ended up being pretty easy. When I did the quilt, I marked mine all in one go, but I took a few step-by-step photos with a scrap quilt sandwich so you can see just how I quilted these lines.
Here's what a single line path looks like:

Then I moved to the left with the next line. Back and forth, back and forth, smooth motions:
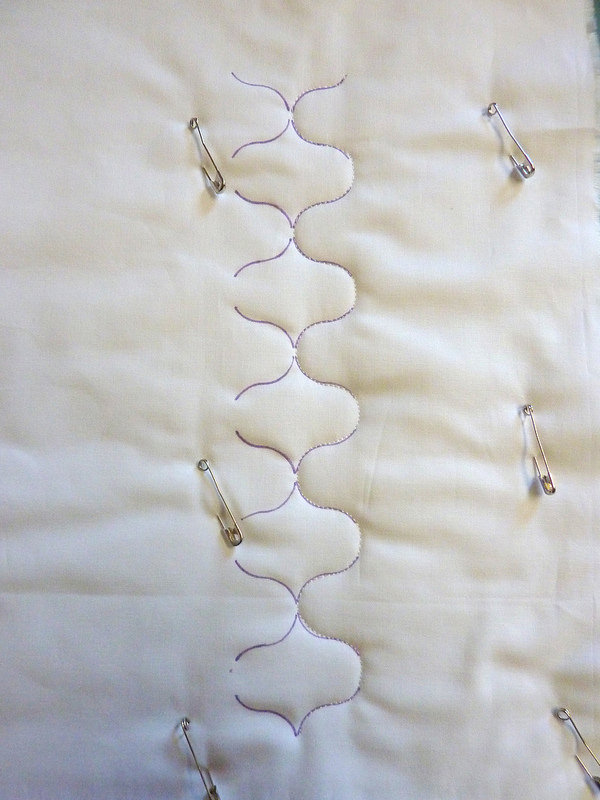
I just continued, filling in lines on each side.

All quilted:

Then I used my iron to make the lines disappear:

Marking the quilting stencil was a bit time consuming, but it was definitely worth it. I absolutely love the look and texture this pattern gave to the quilt and would definitely do it again. Most modern quilters don't use stencils, so it's not something we're used to. I did have to search a little to find a stencil I found suitable to my tastes, but I'm thinking I'll look for a few more to use in the future!


This quilt is backed in a large-scale print which has a retro vibe. It's definitely a different feel than the front of the quilt, but I felt the colors worked well.

Overall, I'm loving this cute little creation. It's going to Crimson Tate and I'm seeing a few more small and quick projects in my future :)

Linking up to Finish it up Friday