FFMQAL: Practicing the Basic Custom Feather
This post is part of the Feather Free Motion QAL - for the announcement post, see here! All are welcome to join in at any time, even and especially if you've never quilted feathers before.
And just an update, one of my readers kindly pointed out that #featherQAL has been used for a QAL for Allison Glass' Feather pattern, so I've switched over to #ffmqal (feather free motion quiltalong) on Instagram. I invite you to do the same! I'd love to see what you're up to :)
Have you started practicing any quilted feathers from the first few lessons of Angela's Craftsy course? I hope so!! No need to worry if they don't look great, or if you're new at free motion quilting and have never fmq'ed feathers before, that's the whole point - learning! This week, just watch up through Lesson 5 and practice, practice, practice!
I, for one, am glad I sat down for some practice first because while I've done some feathering, certainly not enough to have built it up firmly in my muscle memory. I need much more practice! I ran through a few of her exercises from Lesson 4. First, I marked out the entire side of a feather ahead of time.
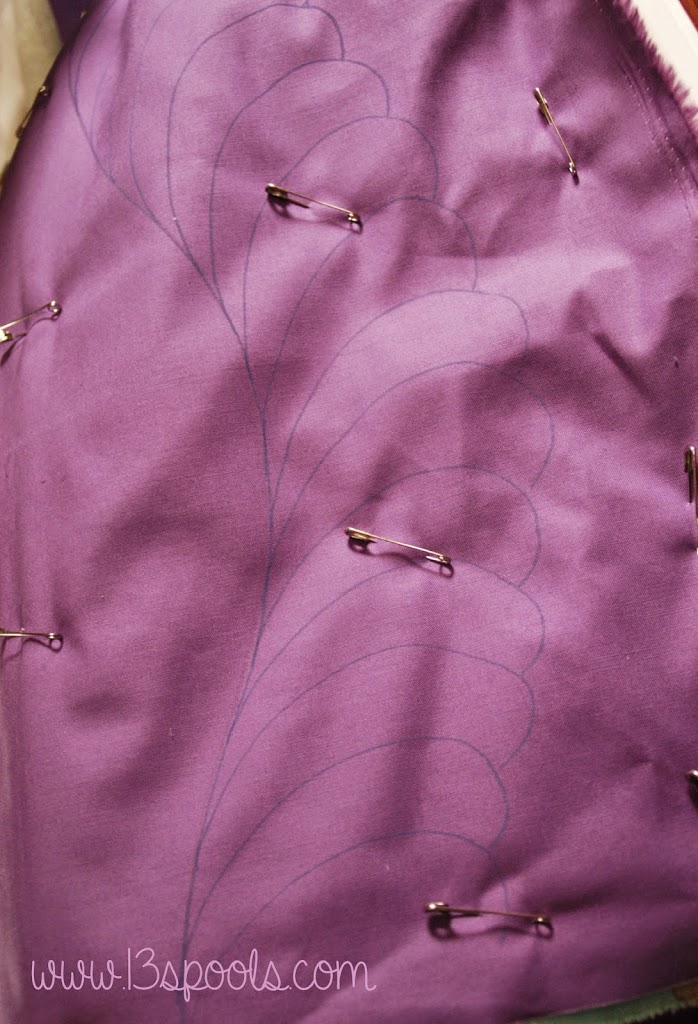
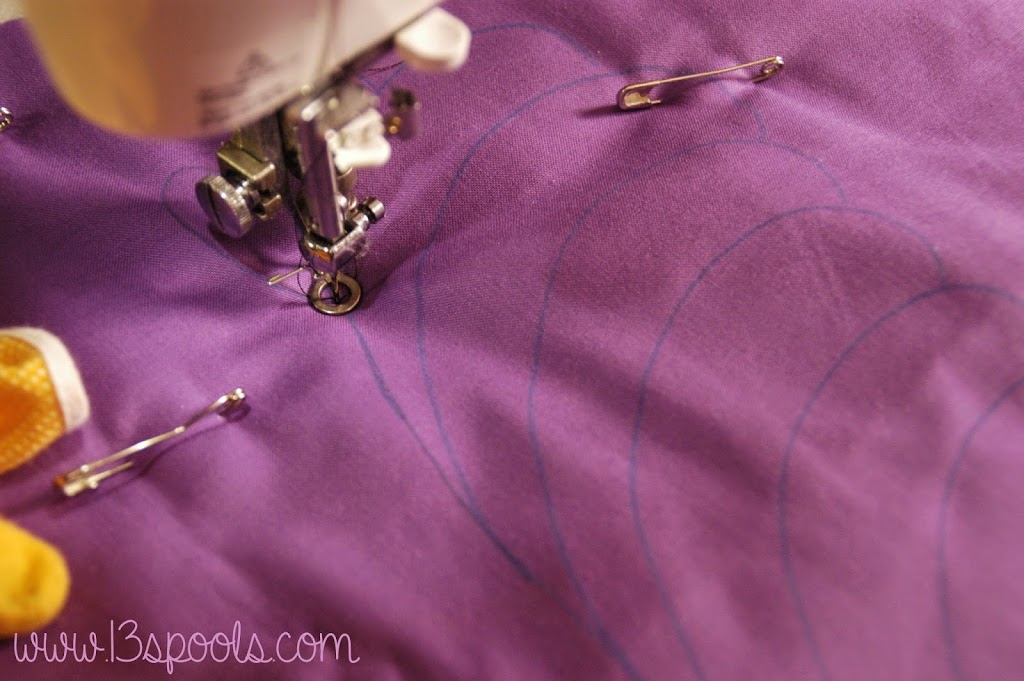
I don't worry if I'm not hitting the lines exactly, it's just a guide to help.
After that, I moved on to quilt the left side of the feather without any marking. Wow - I was really surprised to see just how much better the marked side looked! But that's ok. That's the point of practice, after all :)

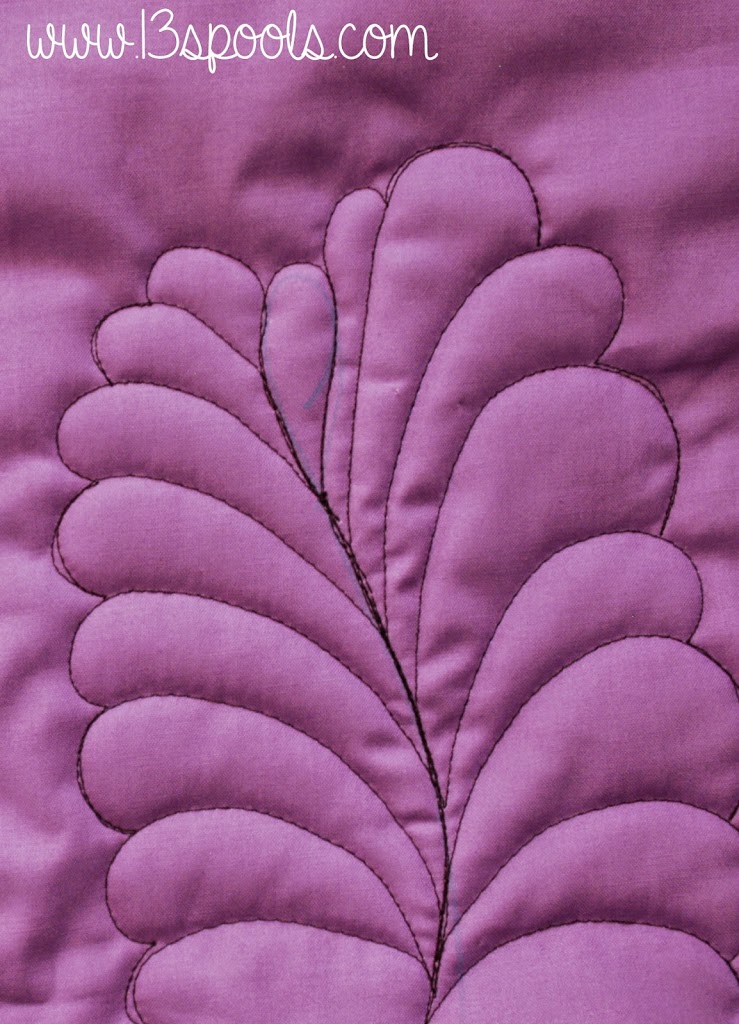
Next, I tried out this echo-back feather technique from Lesson 5. It was my first time trying it and I really like the look - a bit more of a funky vibe. I did find it a little tricky, though, and had troubles getting the echo back to be a consistent width. Again, something that will come with practice (or will be less noticeable with blending thread!).

I did struggle more with petal shape/size with this particular feather version. I'm not sure whether that was due to the nature of this specific variation, or with the fact that the first petal I drew was rather short and plump. Maybe I just started off on a bad foot. I do really like how it looks, though, so I see myself working on this in the future.

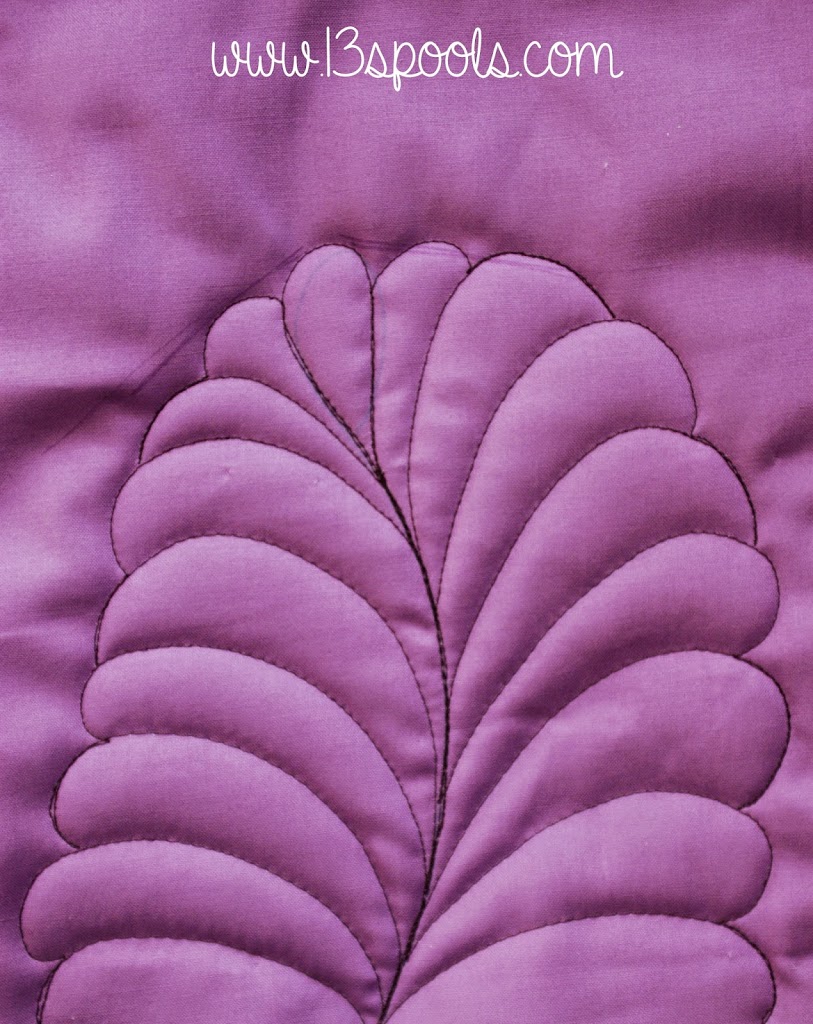
On the other side, I quilted petals with the swirl variation. This is how I did all my feathers in the Dyed quilt and it's my absolute favorite feather variation. I think the swirls are just so feminine and pretty!! It satisfies my super girly side :)


Now, let's talk about some different issues that I - and perhaps you - tend to run into when I'm quilting.
- For starters, ugh I tend to get flat/boxy petals that pop in there! Still working on getting beautiful curves every time, not just most times.
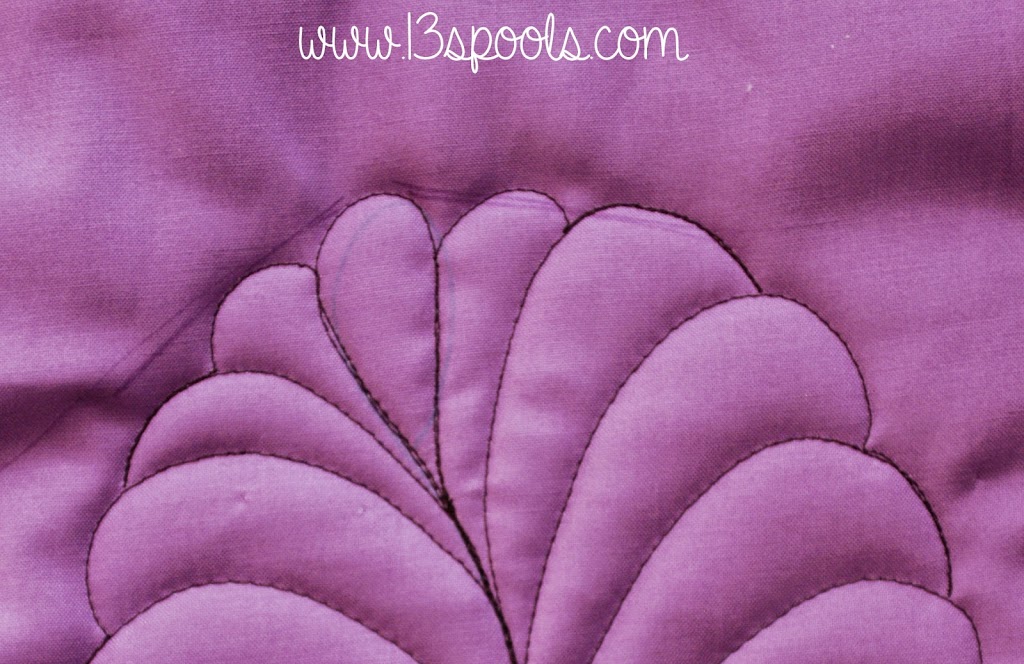
- When I quilted my first feather, that very first/top petal joined the stem too abruptly and left this funky shape in the feather. It might not bother you (and that's ok! your feathers, your way), but I really don't like the way that looks.
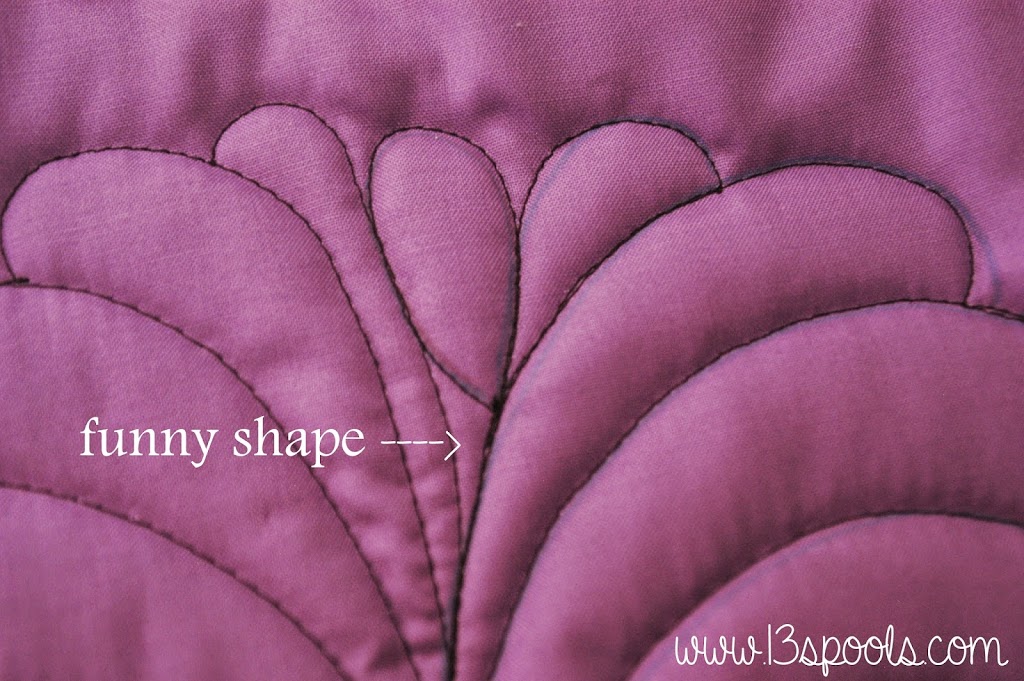
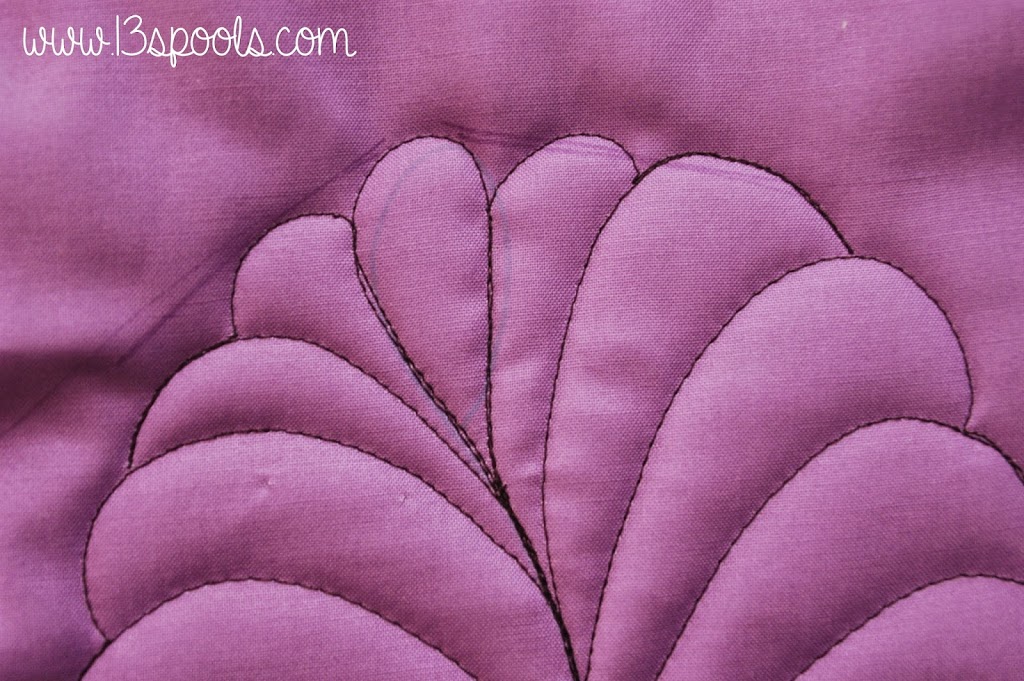
So the next time, I made sure to "blend" my beginning petal into the stem and achieved much better results.
- Another difficulty you might encounter is getting a lovely shape at the very end of your feather. For the longest time after I started, my petals around the top were higher than the starting tear drop, which made for a very awkward feather top.
Ok, so this is a little bit exaggerated, but you get the point.
If you are having this problem, you can always do a little marking to help out. I suggest drawing two lines, like this, to give you a boundary to aim for. Of course if you're a little off, it's not a big deal.

See how much better that looks?
- And one last point of note, about your petals - when I first started quilting feathers, I noticed that the location I backtracked to/started the next petal from, as well as the angle I headed out at, really affected the look of the petals. To illustrate my point...
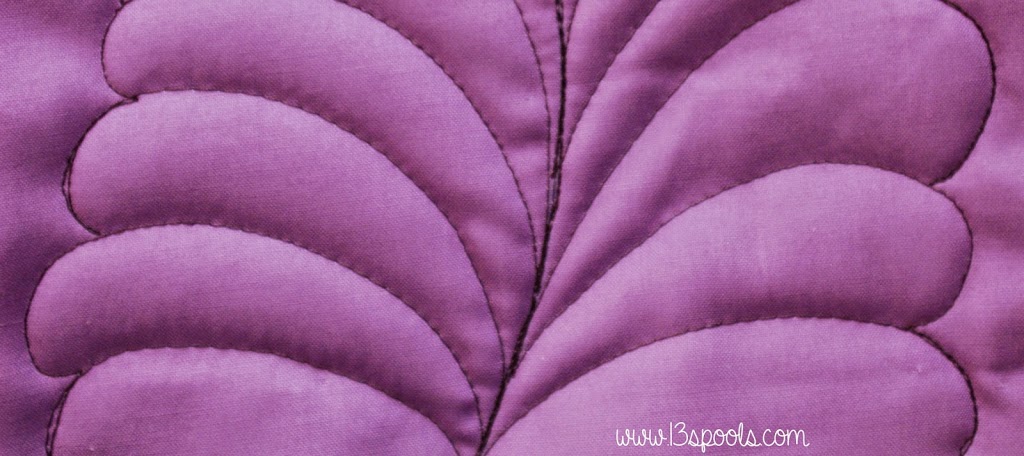
Above, I backtracked farther and quilted out in a nice curve. These petals look a little more separated.
And in the top petals (shown in the photo below), I didn't backtrack very far and didn't quilt out, but angled towards the stem. These petals look much smoother, so to say, and give a very different looking feather.
I decided I prefer the look of the first kind (more separated) of petals, and now I know how to aim for that shape. Try both out, purposefully shaping your petals, and see if you like the look and/or feel of one over the other.
Remember to tag any Instagram photos of your progress! I encourage you to practice and share. I'll be back on Wednesday with more feathering fun :)