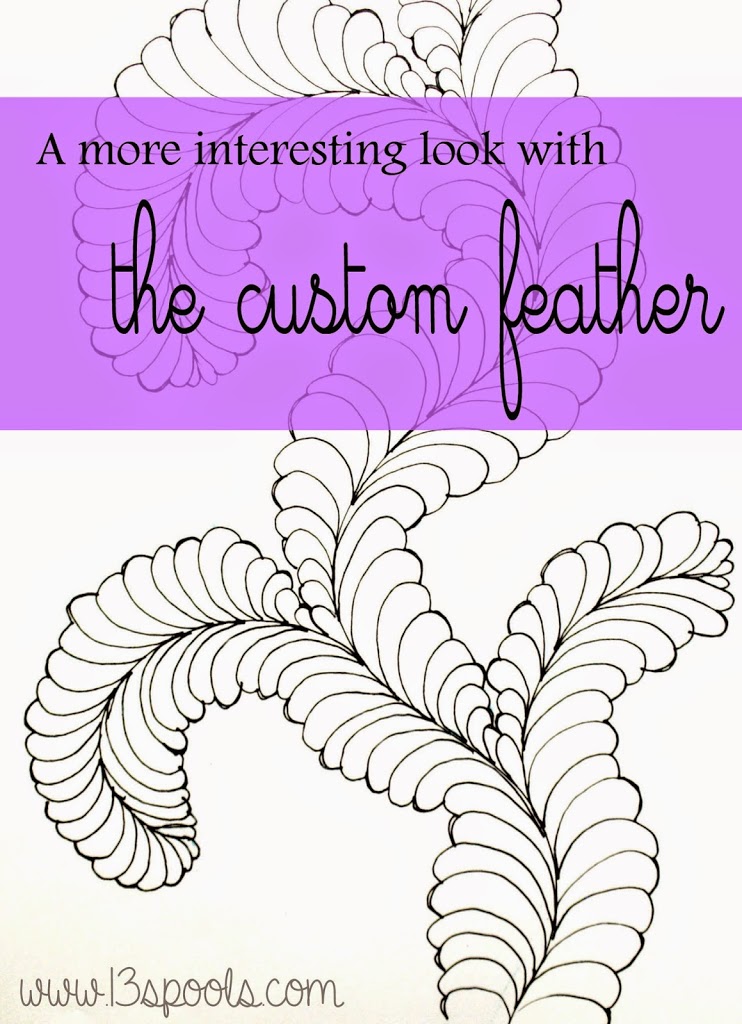
Getting a More Interesting Look with the Custom Feather
In this post, I'm going to talk a lot about what I did "wrong". Or at least, wrong in my eyes. That's the great thing about quilting and other arts; we can all aim for what we personally find beautiful and work toward our own personal best. My criticisms aren't meant to make you feel negatively about your own work, if you're just starting out, because this isn't my first time trying everything!
Similarly, while I'm going to be critical about my own work, I'm also proud of it. If, however, I brought work like this to a quilt show, the quilt police would tear it about. Not gonna lie. It isn't perfect, no matter how good I think it is, and that's ok. I'm aiming for improvement, not perfection.
I'm working on improving by critically examining 1) what looks great, and 2) what doesn't look so great, then working to make the #2 parts look like the #1 parts. So while I'm looking at Angela's examples for a guide, I'm also not beating myself up over any mistakes. I hope you're able to do the same!
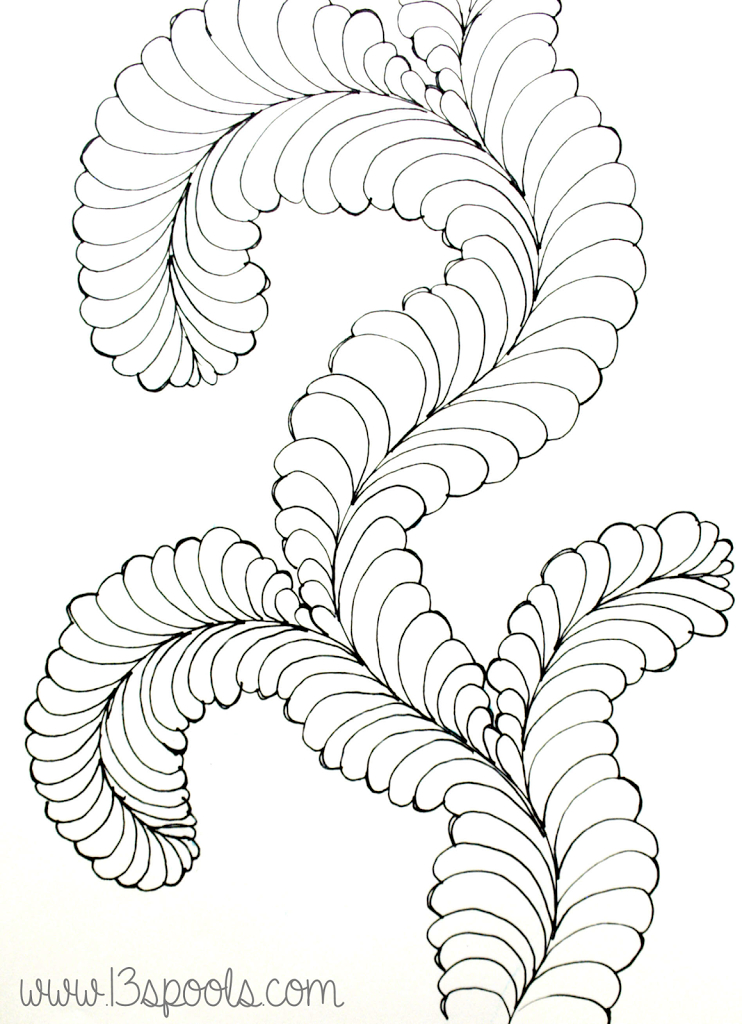
This time around, I practiced with pen and paper. I generally prefer practicing/learning new FMQing patterns on an actual quilt sandwich, but feathers take up a lot of space and fabric! So I gave sketching a try. I also used a Frixion marker for any marking I might do on an actual quilt top, as well as a few marks to point things out to you guys. These markers are erasable.
In Lesson 5, Angela talked about adding off-shoots to your feather. I practiced this method with some simple, regular petals. I'm just going to show you photos and problems I ran into as I worked methodically through this feather here:
While quilting the Dyed quilt, I learned that some simple marking really helps me out. For example, when I start up the inside here, on the new teardrop shape at the intersection, it helps if I mark a dashed line. I try to quilt approximately up to that dashed line. This way, I make sure I'm leaving enough space for the feather on the other side.

Then I try to quilt right up against those petals.
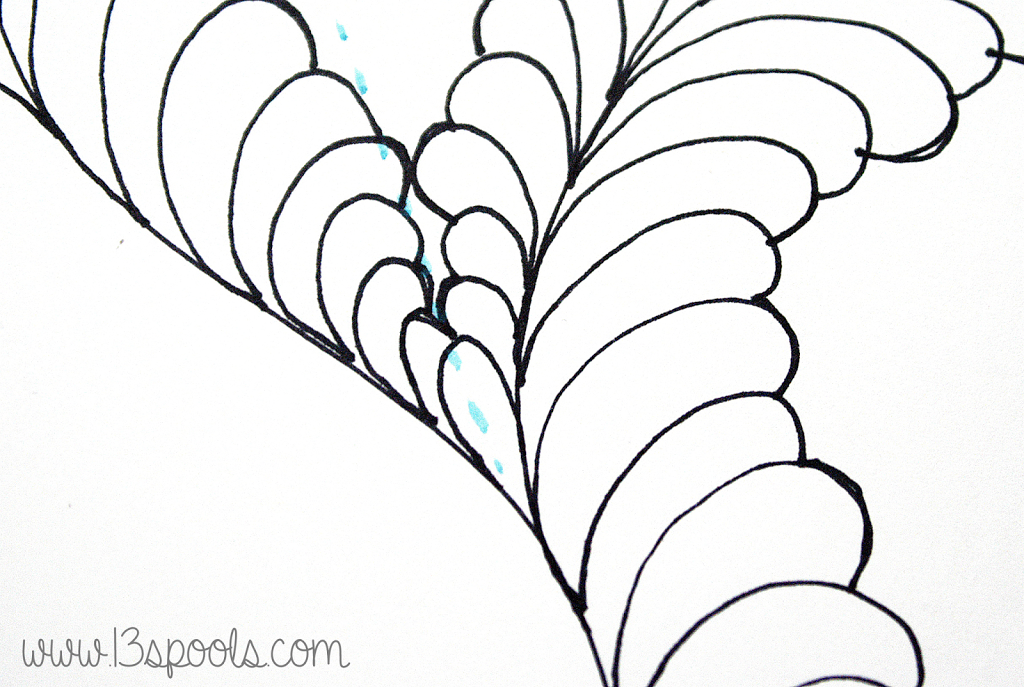
I still struggle with quilting the petals as I'm working into a curve. Looking back, I see that if I had shaped this petal differently...

...more like this...
I might have had an easier time.
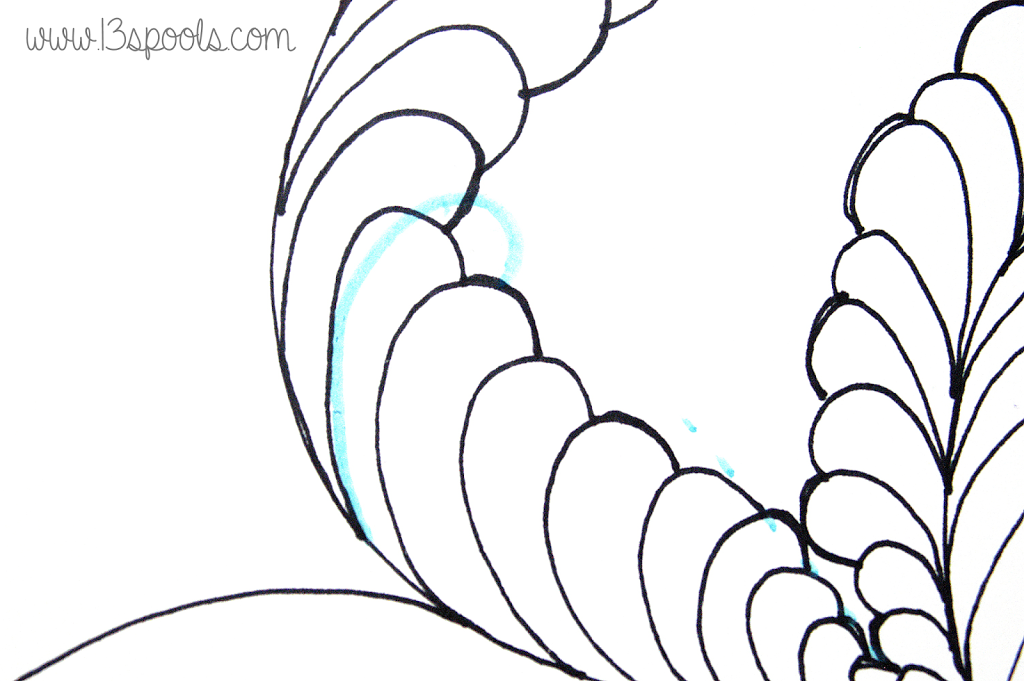
As I prepare to quilt the inside of this circle, I did a little marking. Now I have an idea where the center of the circle is, as well as some markings to help out with the end of the feather.

Again, as I quilt into the curve, I'm struggling a little bit. I think I started making these petals a little too long.

So I reign them back in for the rest of the circle. That works better now.

Ideally, the edges of the petals would make a nice round circle, mimicking the stem they came off of. So that still needs some practice and work!!
I'm really quite pleased with how the outside of this curve turned out:
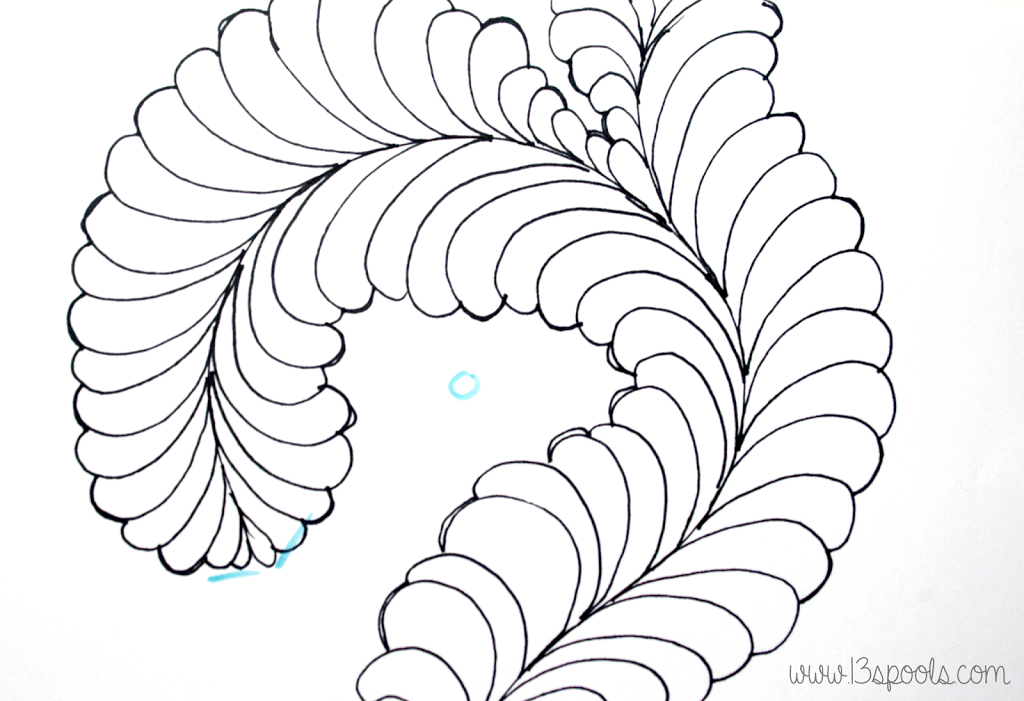
The only part I wish I had done differently was where the two feathers split here -

I like how it looks better when those beginning petals are touching.
Now, as I started getting ready for this turn...

I realize that it isn't the prettiest shape. Angela draws her spine out in c-shapes, and I tend to draw out the main spine and then the shoot-offs, because I have an easier time visualizing where everything's going to end up. The downside of this method is that I don't always place my shoot-offs very well.
It should start farther down on the curve - like this:

Again, as I move into the curve, I struggle with knowing just how long to make those petals! It'll just take some trial and error and practice to get it right.

The end of the curve here is alright, although the petals go a little long and narrow at the end there. I'd rather have the ends of the petals create a nice curve, as I've drawn on there. After thinking about it, I might want to mark curves like that ahead of time for some guidance in the future.

Once again, I like the outside curve of the feather a lot! I have a few petals that peeked out a little too long, but generally, the outside of a curve seems to be my strength here.
So now you can see a little bit of my personal practicing process. Yes, I'm being critical. In the long wrong, despite all the "mistakes" I've pointed out, these feathers will still look great in blending thread on a quilt. I'm only being so critical so I can learn, and I don't feel badly about the way it looks. I hope that's the same attitude you're able to take with your practice!