Setting Rectangular Blocks: Basketweave
Welcome to the first installment of Setting Rectangular Blocks, part of the Something New Sampler series. Here we'll be talking about different ways to set your 7" x 14" blocks, but you can use these techniques for any rectangular blocks you make in the future. I'm going to start with larger projects, with all 9 blocks, and will work through smaller projects. That way, those of you who want to make something with all 9 blocks have plenty of time to start figuring out your layout! And if you don't want to make all 9 blocks, there are still plenty of options for you :)
(Unfortunately I won't be able to make a project for every single layout I suggest, but hopefully you can envision the ideas from digital sketches!)

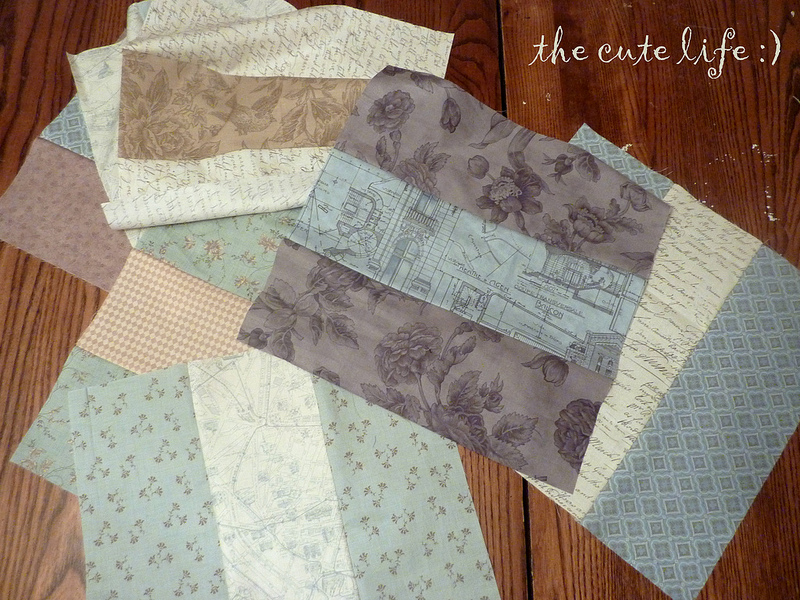
The vision for this week's layout comes from a really beautiful project made out of Denyse Schmidt's book Modern Quilts, Traditional Inspiration. Check out the photo here. (No seriously. Don't skip this step.)
Here's what the original project actually looks like:

(As you can see, I got excited by this week's inspiration and started making this quilt!)
The block used in the basketweave pattern is simply three strips, which make up a square. By using the same color/fabric for all of the outside strips, the inside strip becomes a focal point and the rest becomes background, like in the linked photo.
We can use the same idea with any rectangular blocks - simply add a strip on each side of the block to make a square. For our project, each strip should be cut at 4" x 14.5".
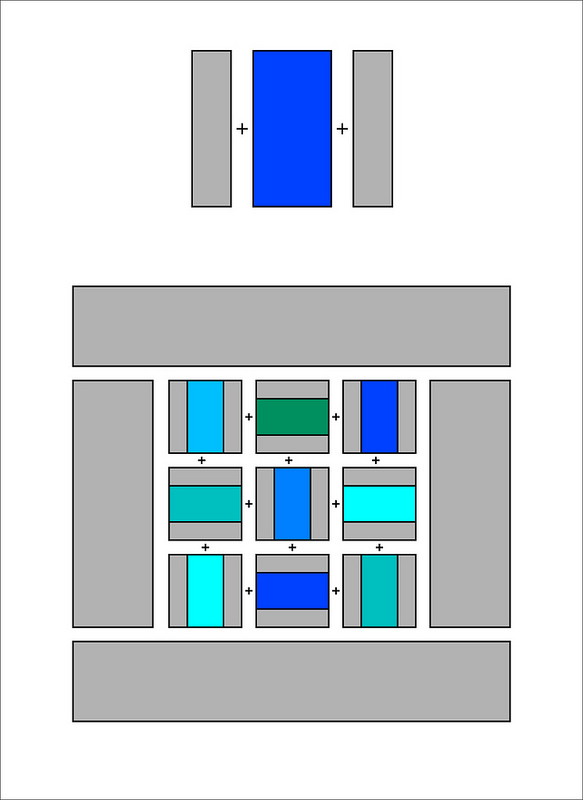
Turn every other square 90 degrees, and you've got a great basketweave pattern! I think this layout looks great with an 11" strip of background fabric added on all four sides, as shown in the diagram above (that's two pieces cut at 11.5" x 42.5" and two cut at 11.5" x 64.5"). For cutting directions, see here for 40" wide fabric, and here for fabric at least 42.5" wide.Voila! A 64" x 64" lap quilt.